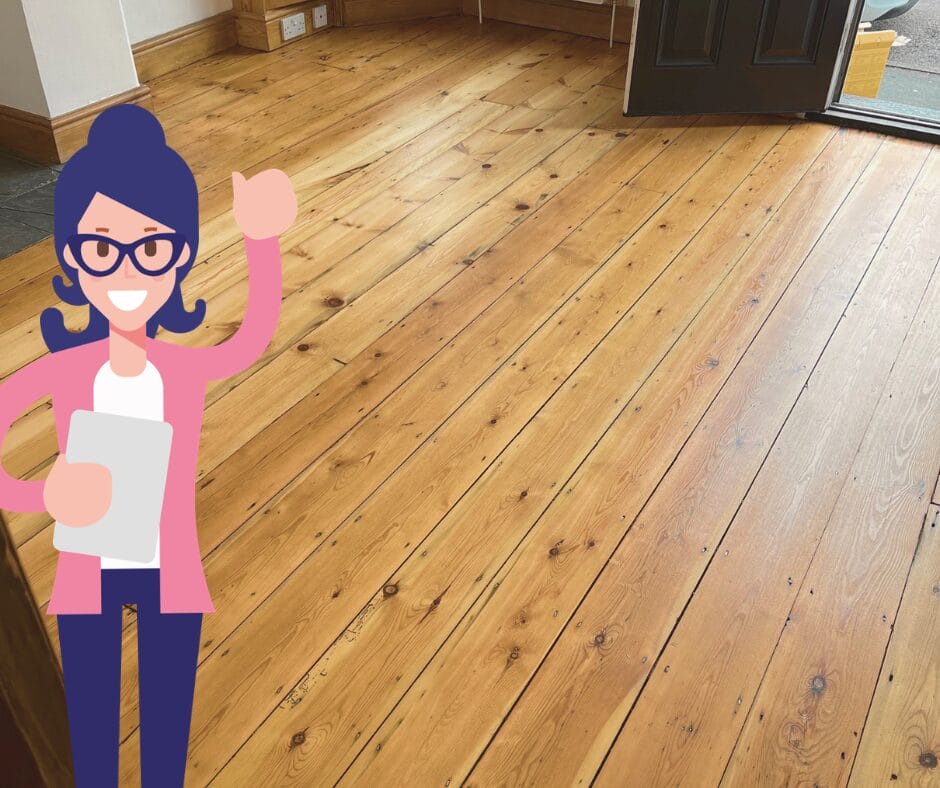
If you are planning to sand and restore a wooden floor, the equipment you need usually includes a main floor sander, an edge sander, detail sanding tools, several grades of abrasive paper, dust extraction, a high-filtration vacuum, safety equipment, wood filler where suitable, and the right finish for the room.
That sounds simple, but the real skill is knowing which machine to use, which grit to start with, how much wood can safely be removed, and whether sanding is actually the right answer for your floor.
For homeowners in Newmarket, Cambridge, Ely, Bury St Edmunds and the surrounding area, this guide explains the equipment used in wood floor sanding and restoration, what each tool does, and when it is better to ask a professional before hiring a sanding machine.
The quick equipment checklist
For a typical wood floor sanding and restoration project, you may need the following equipment. The exact set-up depends on the type of floor, its condition and whether it is suitable to be sanded in the first place.
| Equipment | What it is used for | Why it matters |
| Main floor sander | Sanding the open areas of the room | Removes the old surface and helps level the main floor area |
| Edge sander | Sanding close to skirting boards, thresholds and fitted furniture | Helps the edges blend with the rest of the floor |
| Detail sander or hand tools | Corners, around pipes, stair edges and awkward areas | Prevents missed patches where larger machines cannot reach |
| Abrasive sheets or belts | Sanding through the correct grit sequence | Helps remove the old finish without taking away more wood than needed |
| Rotary finishing sander or buffer | Final smoothing before oil or lacquer is applied | Helps create a more even surface and reduce visible sanding lines |
| Dust extraction and high-filtration vacuum | Controlling and removing fine sanding dust | Keeps the process cleaner and helps prepare the floor properly for finishing |
| PPE | Respiratory protection, eye protection and hearing protection | Helps protect against dust, noise and debris during sanding |
| Hammer, nail punch and repair tools | Securing loose boards and sinking raised nails | Prevents damage to sanding equipment and improves the finished result |
| Wood filler or gap-filling materials | Filling suitable gaps, cracks or small defects | Helps improve the appearance where filling is appropriate |
| Floor finish | Lacquer, oil or hard wax oil | Protects the timber after sanding and affects the final look and maintenance |
| Applicators | Rollers, brushes, pads or t-bars | Allows the chosen finish to be applied evenly |
| Cleaning cloths or tack cloths | Removing fine dust before finishing | Reduces the risk of dust being sealed into the finish |
The list matters, but the inspection matters more. Before sanding starts, the floor should be checked for loose boards, proud nails, old coatings, moisture, deep stains, previous sanding, engineered wear layer depth and any repairs needed.
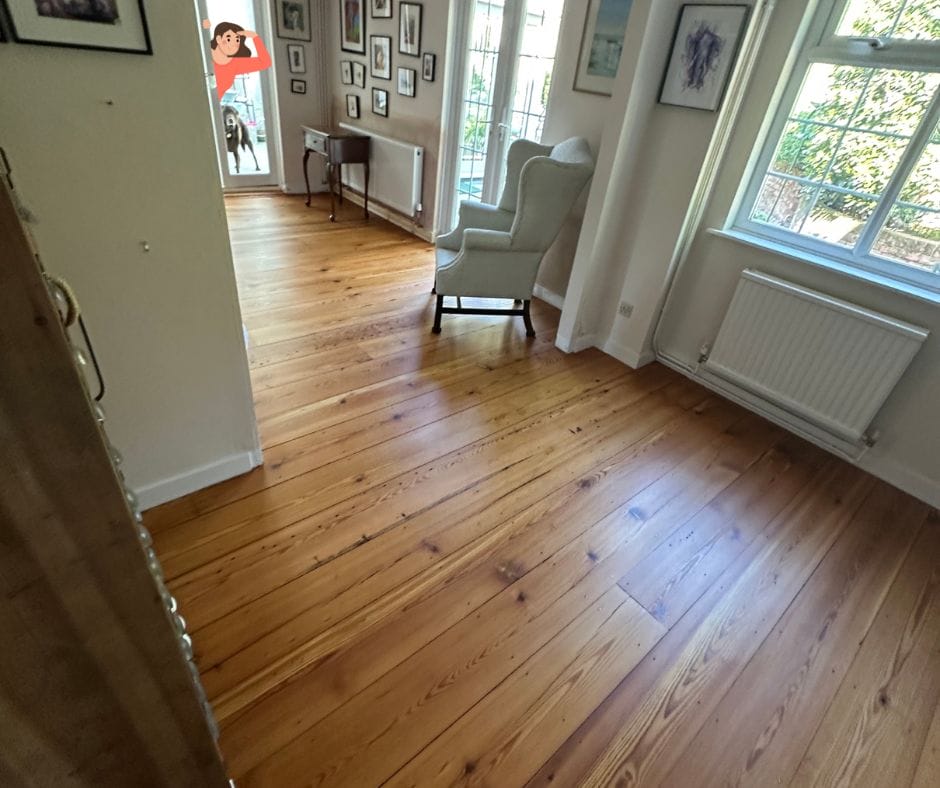
Why the right floor sanding equipment matters
Floor sanding is not just “rubbing down wood”. A sanding machine removes part of the floor surface. Used well, it can take away tired finish, scratches, marks and uneven wear. Used badly, it can leave gouges, waves, swirl marks, uneven colour or a floor that cannot be sanded again safely.
This is especially important with:
- Engineered wood floors, where the real wood wear layer may be limited.
- Old pine floorboards, which may have already been sanded before.
- Parquet flooring, where blocks, adhesives and movement need careful checking.
- Painted floors, especially in older homes where coatings may need testing before disturbance.
- Floors with pet stains, water marks or dark patches, where staining may have gone deeper than the finish.
A professional should not rush straight to sanding. They should inspect the floor first and explain whether cleaning, recoating, sanding, repair or replacement is the most sensible option.
If you are unsure what type of floor you have, it is worth asking before hiring a machine. You can see the professional process here: wood floor restoration in Newmarket.
Main floor sander
The main floor sander is used for the largest open areas of the room. Depending on the floor and the system being used, this may be a belt sander, a drum sander, or a professional floor-sanding machine designed for timber floors.
This machine removes the old surface and levels the main floor area. It is powerful, so it needs to be kept moving evenly. Staying too long in one place can cut into the timber and leave visible marks.
A main floor sander is usually used in stages, moving from a coarser grit to finer grits. The starting grit really depends on the condition of the floor. A lightly worn lacquered floor may not need the same approach as a painted floorboard, deeply scratched hallway or tired parquet floor.
Common mistake: hiring a large sander and starting too aggressively. Coarse grit can be useful, but it can also remove more wood than needed.
Edge sander
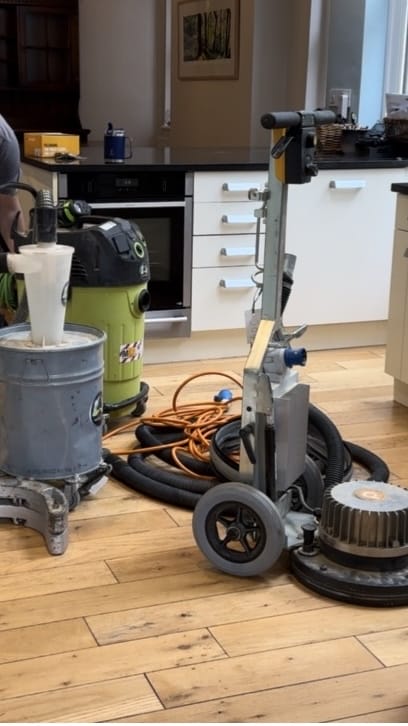
A main floor sander cannot reach tight to the skirting boards, radiator pipes, thresholds or fitted furniture. That is where an edge sander comes in.
An edge sander works around the perimeter of the room and into areas the main machine cannot reach. It needs careful handling because it can leave dips or circular sanding marks if used unevenly.
On professional wood floor sanding jobs, the edges should blend with the main floor area. If the middle of the floor looks smooth but the edges look rough, darker or scratched, the final finish can make that difference more obvious.
You can see how edge sanding forms part of the professional process on the wood sanding and lacquer service page.
Detail sanding tools
Even with a floor sander and edge sander, there are usually places that need hand work. Corners, stair edges, under radiator pipes, door thresholds and detailed parquet borders often need smaller sanding tools.
These may include:
- Detail sanders
- Palm sanders
- Scrapers
- Hand sanding blocks
- Specialist abrasives
This is slow work, but it matters. A beautifully sanded room can still be let down by rough corners, missed edges or scratches around the doorways.
Abrasives and grit sequence
Sandpaper is not one-size-fits-all. Floor sanding normally works through a sequence of grits, starting with the grade needed to remove the old finish and ending with a finer grade that prepares the surface for sealing.
The exact sequence depends on the floor. A heavily worn floor may need a stronger starting point. A delicately engineered floor may need a much more cautious approach. A painted floor can clog abrasives quickly, which makes the work slower and more costly than many people expect.
The important point is to move gradually. Skipping grit stages can leave scratches that only show once the lacquer, oil or stain is applied.
Good sanding is not about using the harshest grit first. It is about removing only what needs to be removed.
Dust extraction and vacuuming
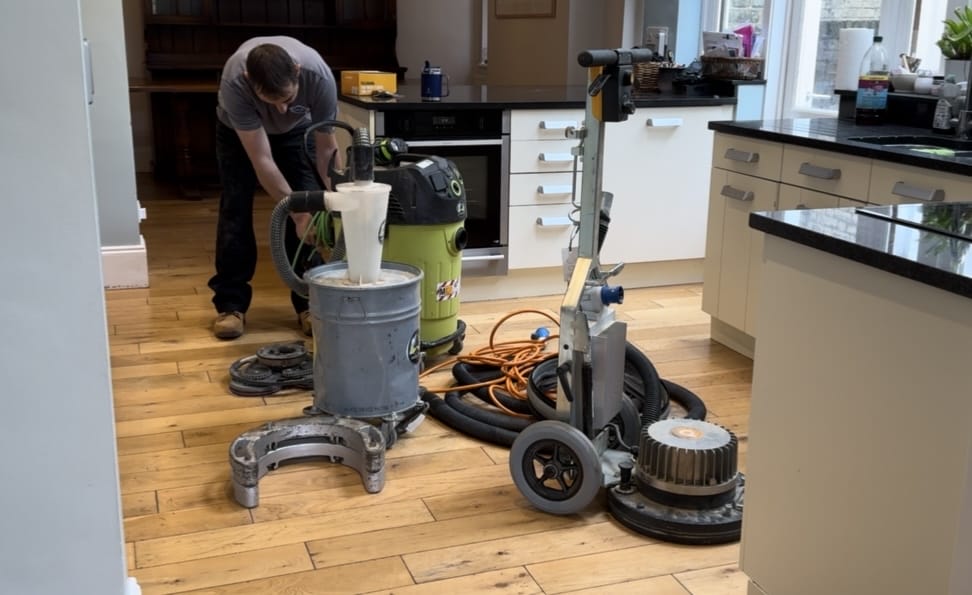
Dust control is one of the biggest differences between a casual DIY attempt and a professional wood floor restoration process.
Sanding produces fine wood dust. Older coatings may add further risk, especially if paint or unknown finishes are being removed. HSE guidance notes that cutting and sanding wood with power tools can create significant dust, and lead can be present in older buildings, including paint. This is why dust control, extraction and safe working methods matter.
For floor sanding, you need:
- On-tool extraction where possible
- A high-filtration vacuum
- Careful vacuuming between sanding stages
- Fine dust removal before finishing
- Suitable respiratory protection
Art of Clean’s Newmarket floor-sanding process includes high-filtration vacuuming, advanced extraction, and fine dust removal as part of the sanding and finishing system.
PPE and safety equipment
Floor sanding is noisy, dusty and physical. At a minimum, safety equipment should include:
- Suitable respiratory protection
- Eye protection
- Hearing protection
- Knee protection
- Use work gloves where suitable.
- Good ventilation, without blowing dust through the home
If the floor is painted and the property is older, do not dry sand without checking whether lead may be present. A simple mask is not the same as proper control.
If you are dealing with an older painted floor, an unknown coating, a commercial space, or a heritage property, get advice before disturbing the surface.
Repair tools and preparation equipment
Before sanding, the room and floor need to be prepared. This stage is easy to underestimate.
You may need:
- A nail punch to sink raised nails
- A hammer and fixing tools for loose boards
- Replacement boards where damaged timber is present
- Wood filler or slivers for suitable gaps
- Masking and protection for nearby areas
- Lighting to check scratches and sanding marks
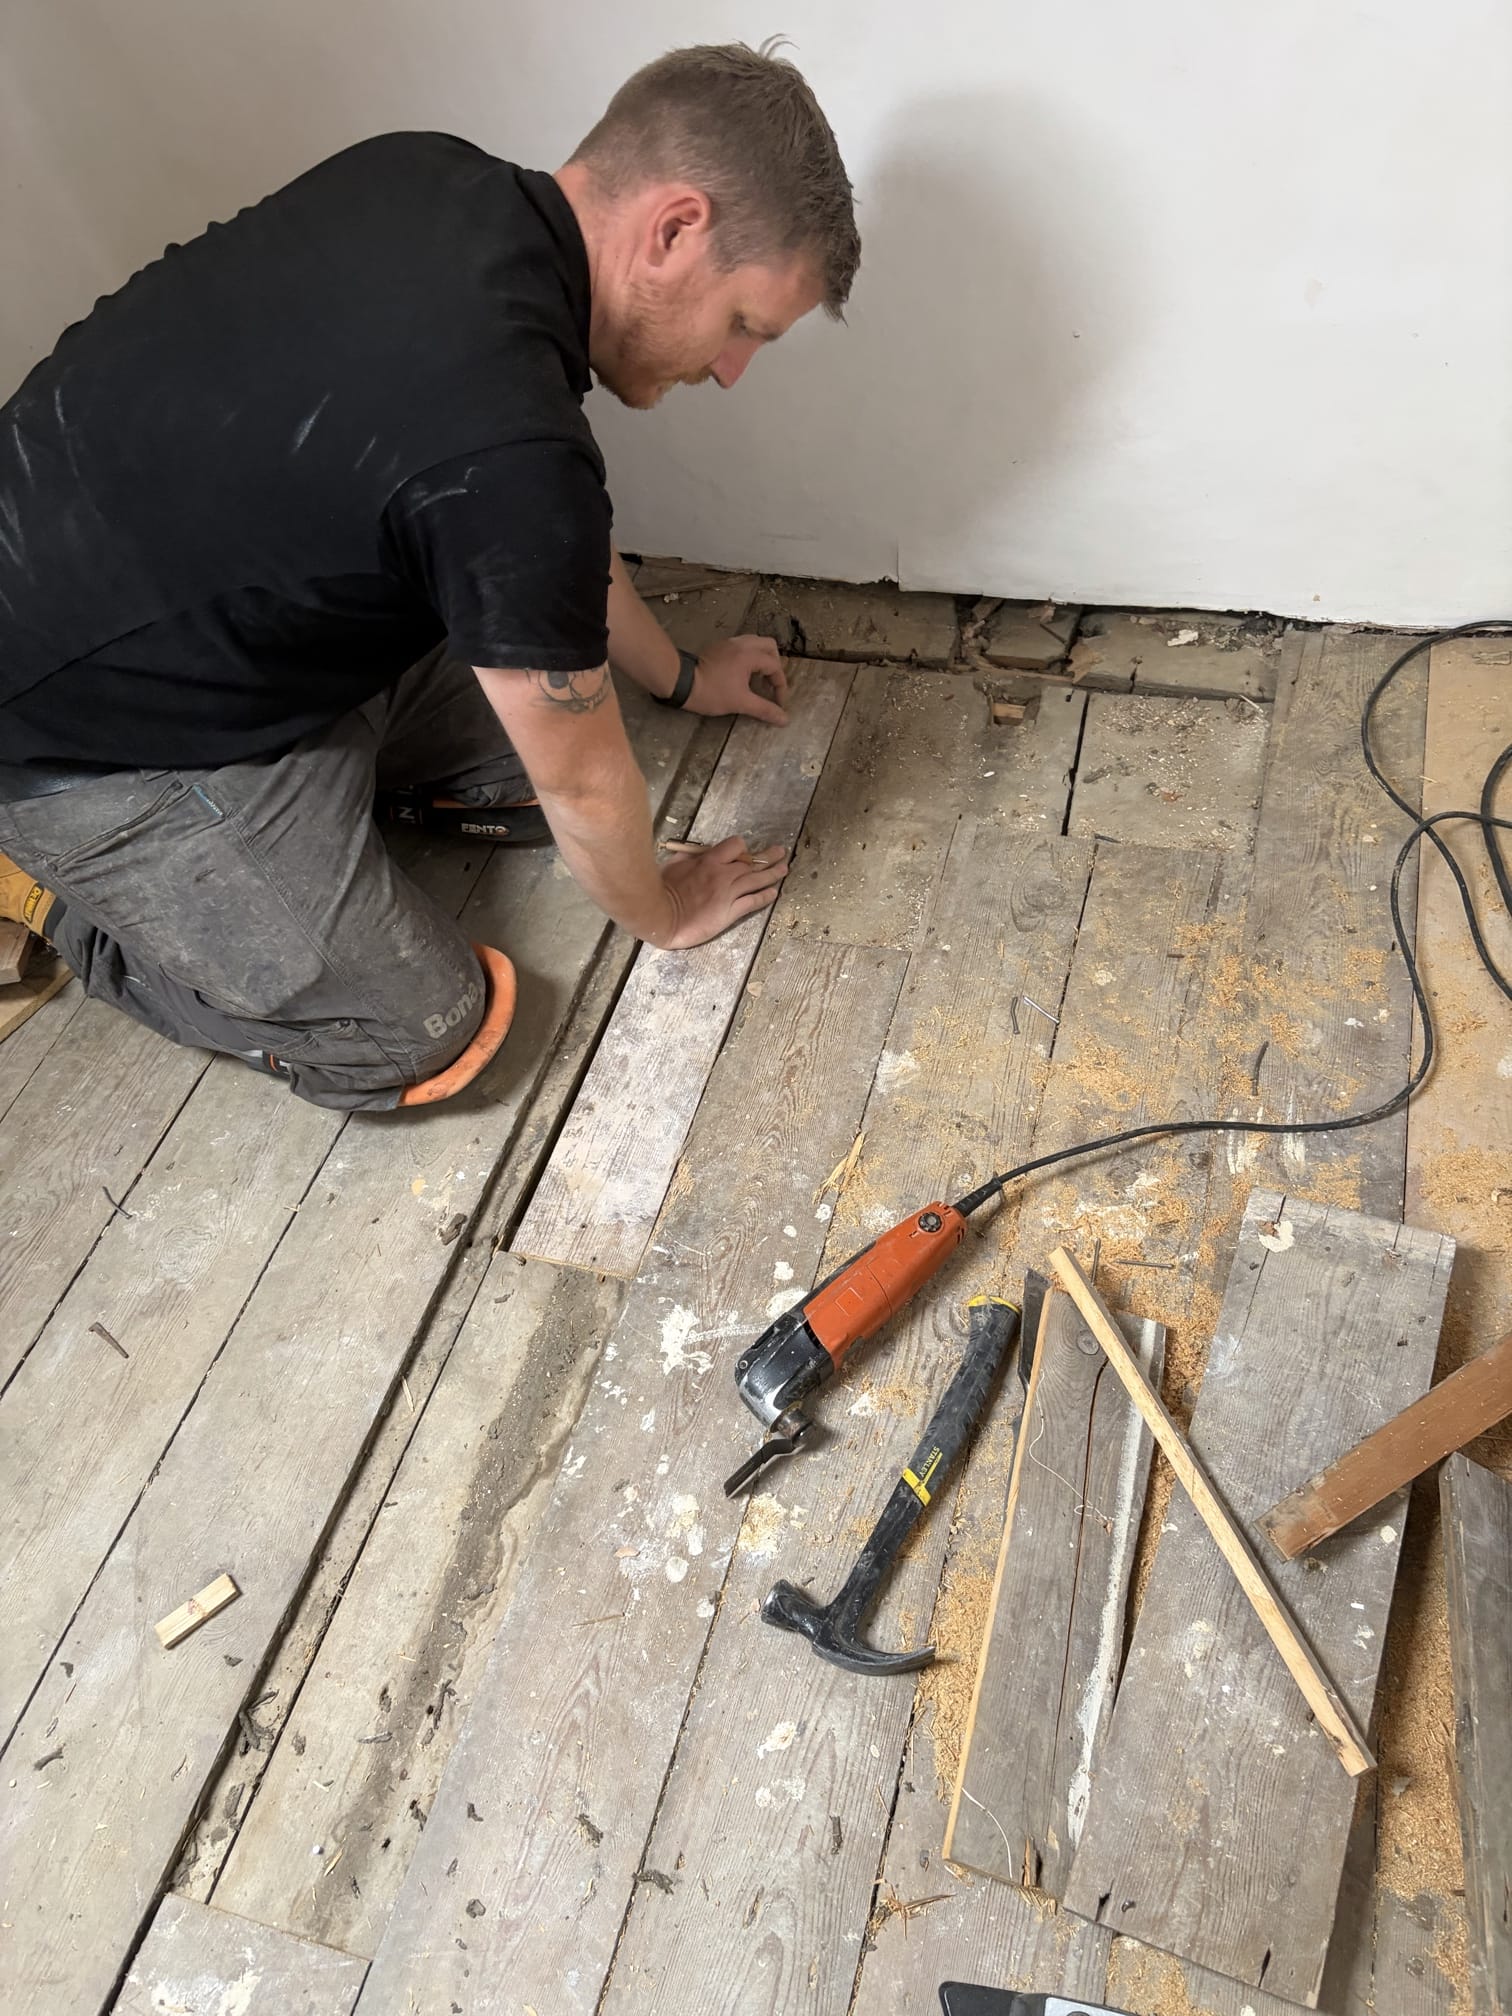
Loose boards should be secured before sanding. Raised nails can tear abrasive paper or damage the sanding machine. Gaps may need discussion because not every gap should be filled in the same way.
Craig, one of Art of Clean’s wood floor technicians, often sees that jobs run more smoothly when room access, furniture and floor preparation have been planned before the day. Clearing the room properly, discussing heavy furniture early and checking access can reduce stress for the homeowner and help the work run more cleanly.
Finishing equipment
Once the floor has been sanded, it needs protection. A bare sanded floor will mark easily. The finish is what helps the timber cope with normal life.
Common finish options include:
- Lacquer is often chosen for durability and easier maintenance.
- Oil is often chosen for a natural look and repairability.
- Hard wax oil is often chosen where a natural appearance and practical protection are wanted.
You may also need brushes, rollers, pads, trays, applicators and fine sanding pads between coats, depending on the finish system.
The finish should be chosen for the way the room is used, not just for the colour. A busy hallway, kitchen, family dining room or pet area may need a different finish from a quiet bedroom.
You can compare service routes here:
Do you need a buffer or rotary finishing sander?
A rotary finishing sander or buffer is often used near the end of the sanding process to create a smoother, more even surface before finishing.
This can help reduce sanding lines and prepare the floor for lacquer or oil. It is especially useful when the final appearance matters and the light catches the floor across a larger room.
On professional jobs, this finishing stage is one reason the result can look more even than a basic hire-machine attempt.
Can you sand a wood floor with a hand sander?
You can sand small areas with a hand sander, but it is not usually practical for sanding and restoring a whole room.
A palm sander or orbital sander may help with corners, detail work or local repairs. It is not usually strong or even enough to restore a full wooden floor properly. Trying to sand a whole room with a small sander can leave an uneven surface, a patchy finish and a lot of frustration.
For a whole room, you normally need a proper floor sander, edge sander and dust control system.
What equipment do professionals use?
A professional wood floor sanding company will usually use a system rather than one machine. That may include:
- Professional main sanding machines
- Edging sanders
- Rotary finishing sanders
- Dust extraction systems
- High-filtration vacuums
- Moisture checking and inspection tools
- Repair and preparation tools
- Professional-grade lacquers, oils or hard wax oils
- Application tools suited to the chosen finish
The difference is not only the equipment. It is also the judgement behind it.
Robby, one of Art of Clean’s senior wood floor technicians, often checks whether the floor can safely be sanded before discussing finishes. That is especially important with engineered wood floors, old boards, previous sanding, moisture damage and floors where the surface looks dirty but the protective finish may actually have failed.
When sanding may not be the right answer
Not every tired wooden floor needs full sanding.
Sometimes a clean and recoat may be enough if the existing finish is still sound. Sometimes sanding is needed because the finish has worn through and dirt or moisture has reached the timber. Sometimes replacement may be more realistic if the floor is too thin, too damaged or not stable enough.
Be cautious if:
- The floor is engineered, and you do not know the wear layer depth.
- The boards feel thin, loose or unstable.
- There are damp patches or cupping.
- The floor has been sanded several times before
- The paint or coating may contain lead.
- There are deep black stains, pet damage or widespread moisture marks.
- Parquet blocks are loose, or the adhesive has failed.
In these cases, the most useful first step is not hiring equipment. It is getting the floor assessed.
DIY floor sanding versus professional floor sanding
DIY sanding can suit small, lower-risk floors where the homeowner understands the process and accepts the possibility of imperfections. Professional floor sanding is usually the better route for older homes, visible rooms, parquet, engineered flooring, painted boards, heavy staining, large rooms, valuable floors or homes where dust control and finish quality matter.
| DIY sanding may suit you if | Professional sanding is safer if |
| The room is small | The floor is old, thin or uneven |
| The floor is modern, solid and stable | The room is important to the look of the home |
| You are comfortable using heavy equipment | The floor is engineered and the wear layer needs checking |
| You understand grit sequences and finishing | The floor is painted or has unknown coatings |
| You accept that the result may not be perfect | There are stains, repairs, gaps or loose boards |
| You can manage dust control and room preparation | You want a cleaner process and a more consistent finish |
In many Newmarket homes, the floor is not just a surface. It is part of the character of the room. A careful restoration can protect that character instead of simply stripping it away.
What should you do before booking floor sanding?
Before booking professional floor sanding in Newmarket, it helps to:
- Take clear photos in natural light.
- Check whether the floor is solid wood or engineered wood, if you know.
- Mention stains, pet marks, water damage or previous sanding.
- Think about how the room is used.
- Plan furniture movement before the work starts.
- Ask whether oil or lacquer is better for your home.
- Ask what aftercare will be needed once the floor is finished.
A good conversation before the work begins can prevent surprises later.
Local wood floor sanding in Newmarket
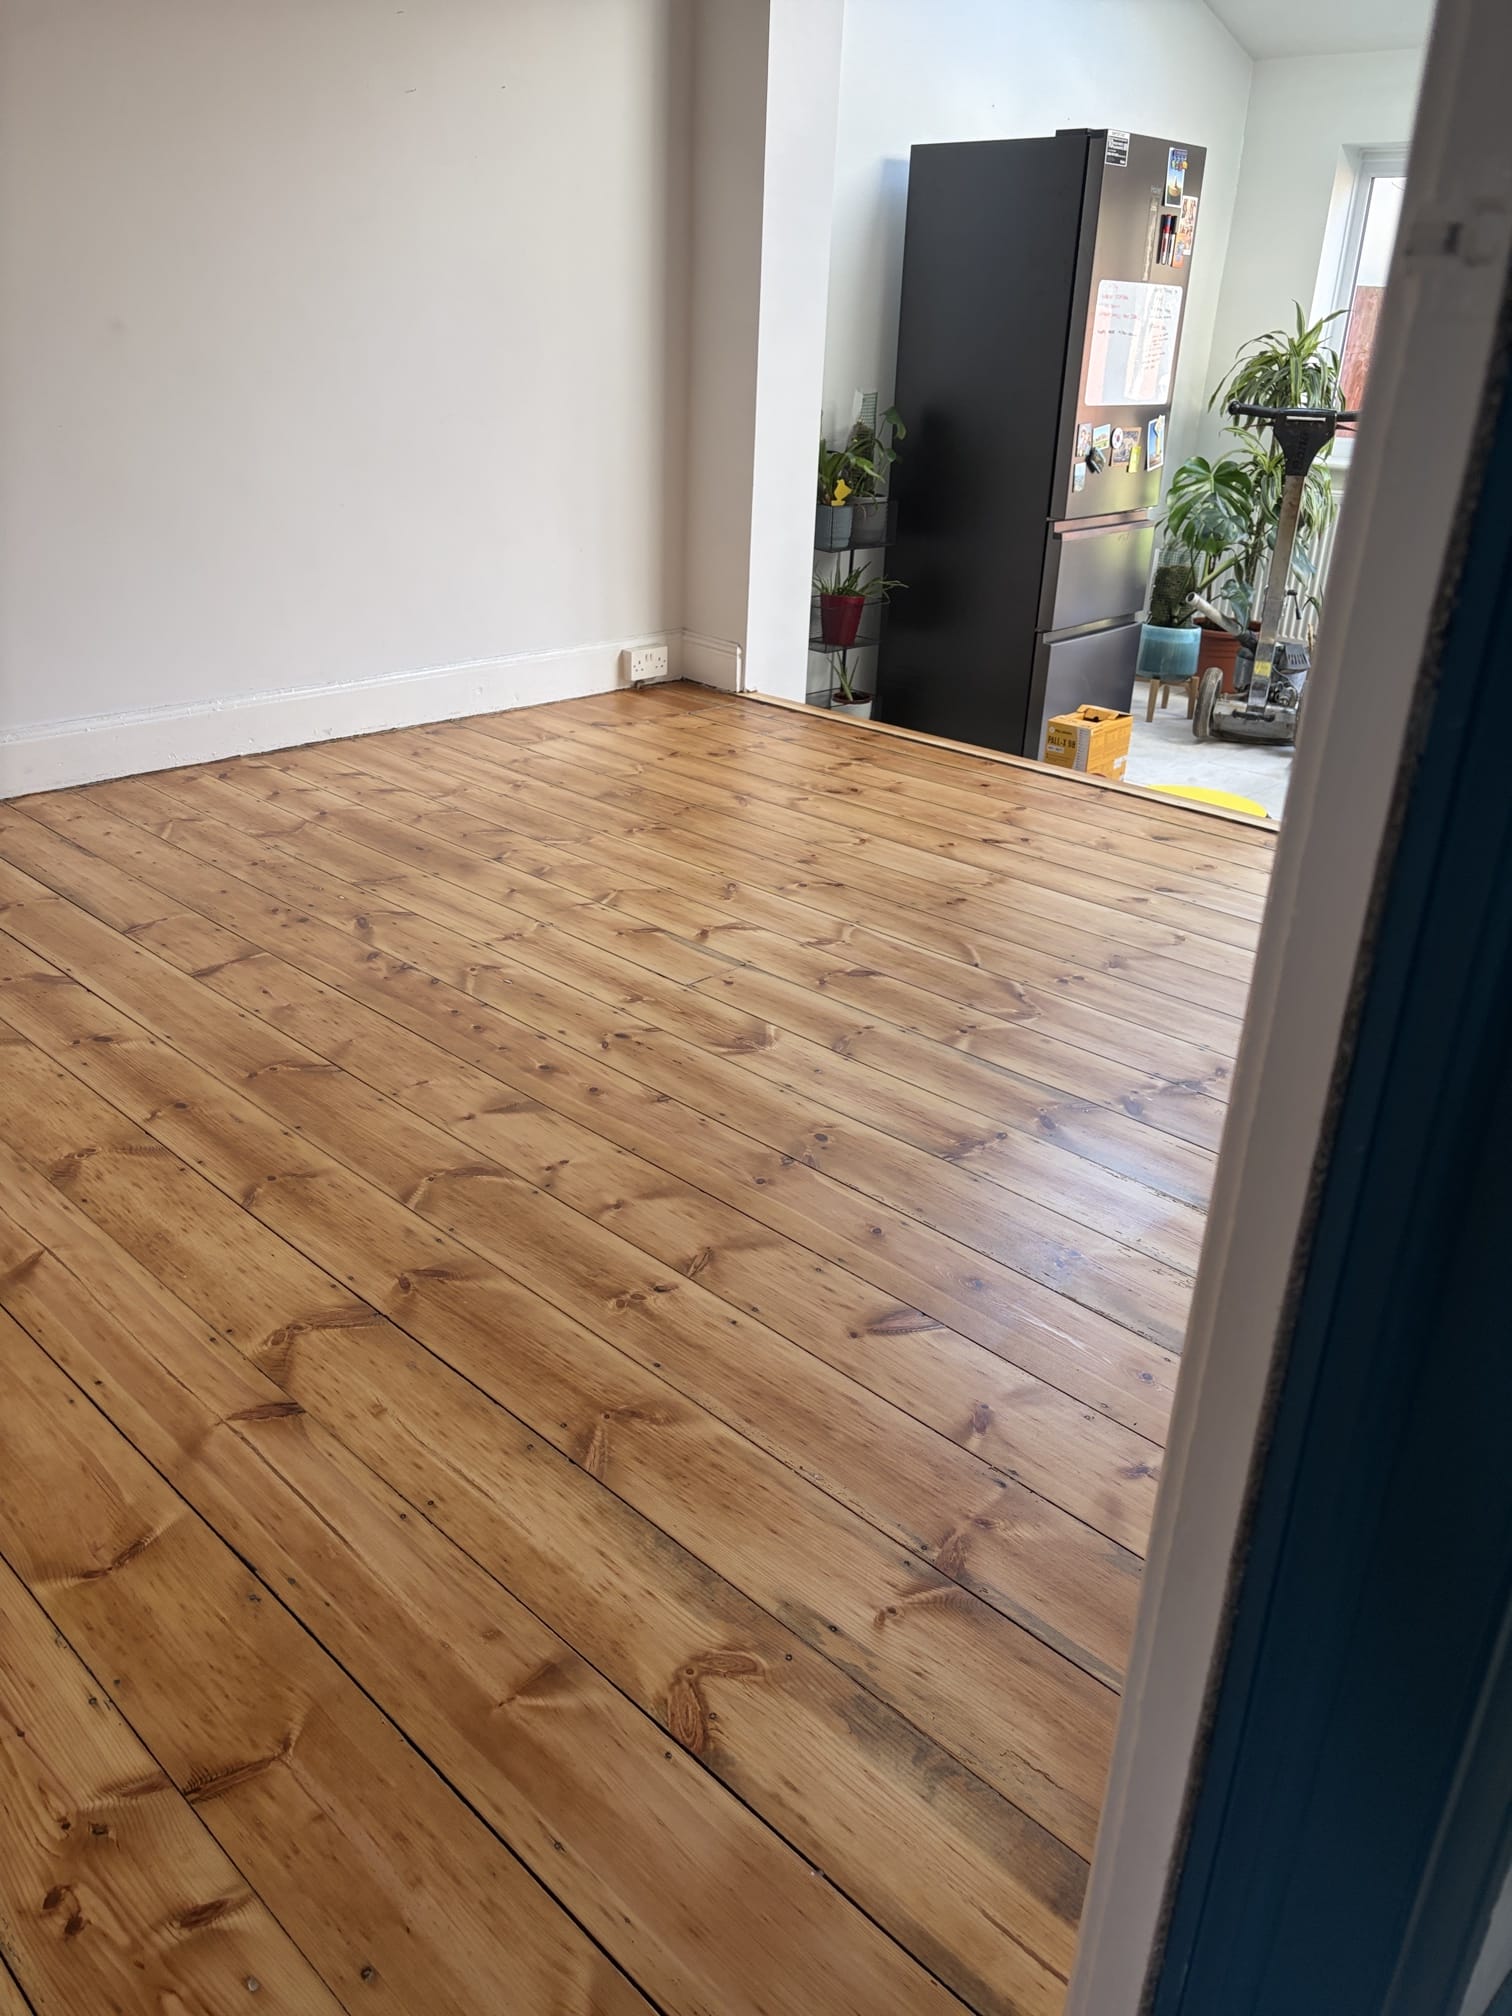
Art of Clean provides wood floor sanding and restoration services in and around Newmarket, with work across nearby areas including Cambridge, Ely, Bury St Edmunds and surrounding towns and villages.
The Newmarket service includes preparation, sanding, oiling, lacquering, repairs and restoration, with a site survey before work begins. Clients often mention clear communication, tidy working, low-dust equipment and being talked through the process, which is exactly what matters when a floor is part of your home.
If your wooden floor is scratched, dull, stained or difficult to clean, you do not need to decide everything yourself. You can start with a calm assessment and find out whether sanding, recoating, repair or restoration is the right option.
So, what equipment do you need?
To sand and restore a wood floor properly, you need the right sanding machines, edge sanding tools, abrasives, dust extraction, safety equipment, preparation tools, repair materials and a suitable floor finish.
But equipment is only part of the answer.
The better question is: what does this floor need, and can it safely be sanded?
If you are unsure, especially with engineered wood, parquet, old floorboards, painted floors or deep stains, ask for advice before starting. The right assessment can save money, reduce mess and protect the life of the floor.
For help with wood floor sanding and restoration in Newmarket, you can visit:
- Wood floor restoration in Newmarket
- Wood sanding and oiling
- Wood sanding and lacquer
- Contact Art of Clean

FAQs
What is the best sander for wooden floors?
For a full room, a professional floor sander is normally used for the main area, with an edge sander for the sides of the room. A small hand sander may help with corners, but it is not usually enough for the whole floor.
Do I need an edge sander?
Yes, in most rooms. A main floor sander cannot reach right up to skirting boards, radiator pipes or thresholds. The edge sander helps blend the perimeter with the main floor area.
Can I sand engineered wood flooring?
Sometimes, but only if the wear layer is thick enough and the floor is suitable. Some engineered wood floors can only take a light sanding. Some should not be sanded at all. Get the wear layer checked before starting.
Is floor sanding dust-free?
No sanding process should be described as completely dust-free. Good professional equipment can make the process very low-dust, but fine dust control still matters. Ask what extraction and cleaning process will be used.
Do I need to remove all furniture before floor sanding?
Usually, yes. The room normally needs to be cleared so the floor can be sanded evenly. If heavy furniture is difficult to move, mention this before booking so the team can plan properly.
Should I choose oil or lacquer after sanding?
It depends on the look you want, how the room is used and how you want to maintain the floor. Lacquer is often chosen for durability and easier cleaning. Oil or hard wax oil can give a natural look and may be easier to repair locally in some situations.
Can I walk on the floor straight after sanding and finishing?
Not straight away. Drying and curing times depend on the finish used. Always follow the guidance given for your specific lacquer, oil or hard wax oil before replacing furniture, rugs or normal foot traffic.