Short answer… Sanding floorboards removes the worn top layer of wood using specialist sanding equipment, taking away scratches, stains, and old finishes. The process moves through preparation, coarse-to-fine sanding, then sealing and finishing, leaving a smooth, protected surface that lasts.
Key takeaways…
- Sanding wood floorboards removes all that wear, those scratches, and old finishes, leaving it with a smooth surface.
- The process works best in stages, from coarse to fine… rushing usually shows later.
- Preparation matters more than most expect, especially nails, repairs, and dust control.
- The finish you choose affects how the floor looks, feels, and wears over time.
- A professional approach usually gives a more even result with less disruption.
Why sanding floorboards changes how your home feels…
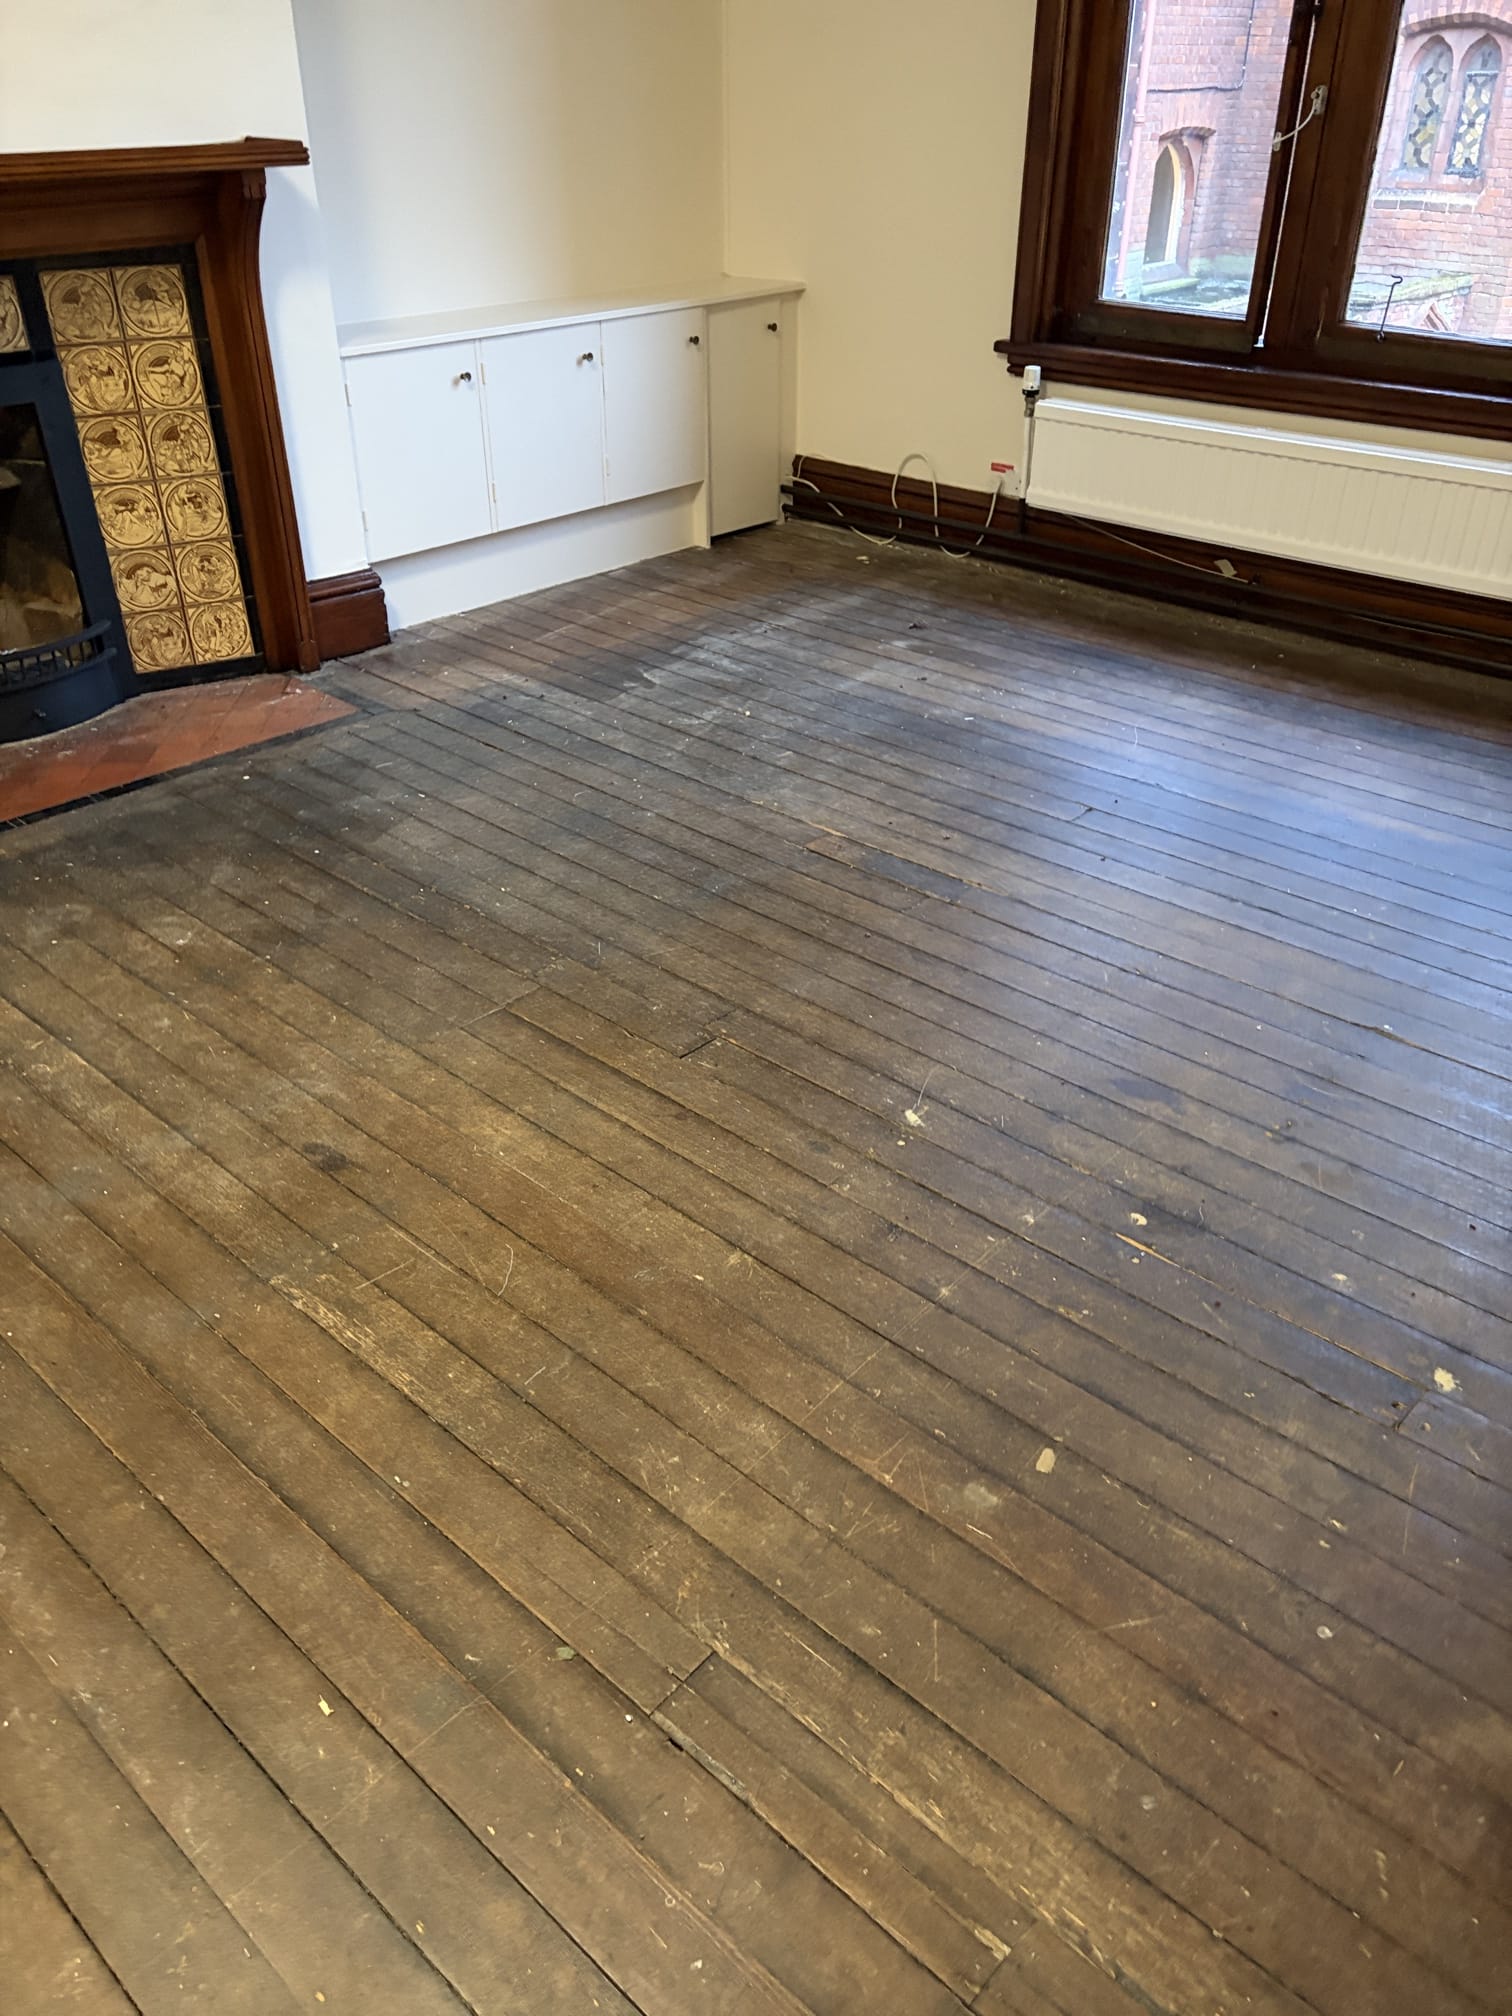
You notice it gradually. Your floor starts to look uneven, light catches scratches, and certain areas always feel a bit dull, no matter how often you clean. It is not always dramatic, but it affects the whole room.
In many Newmarket homes, especially older properties with original boards, the floor is part of the character. When it looks tired, the space can feel unfinished, even if everything else is in place.
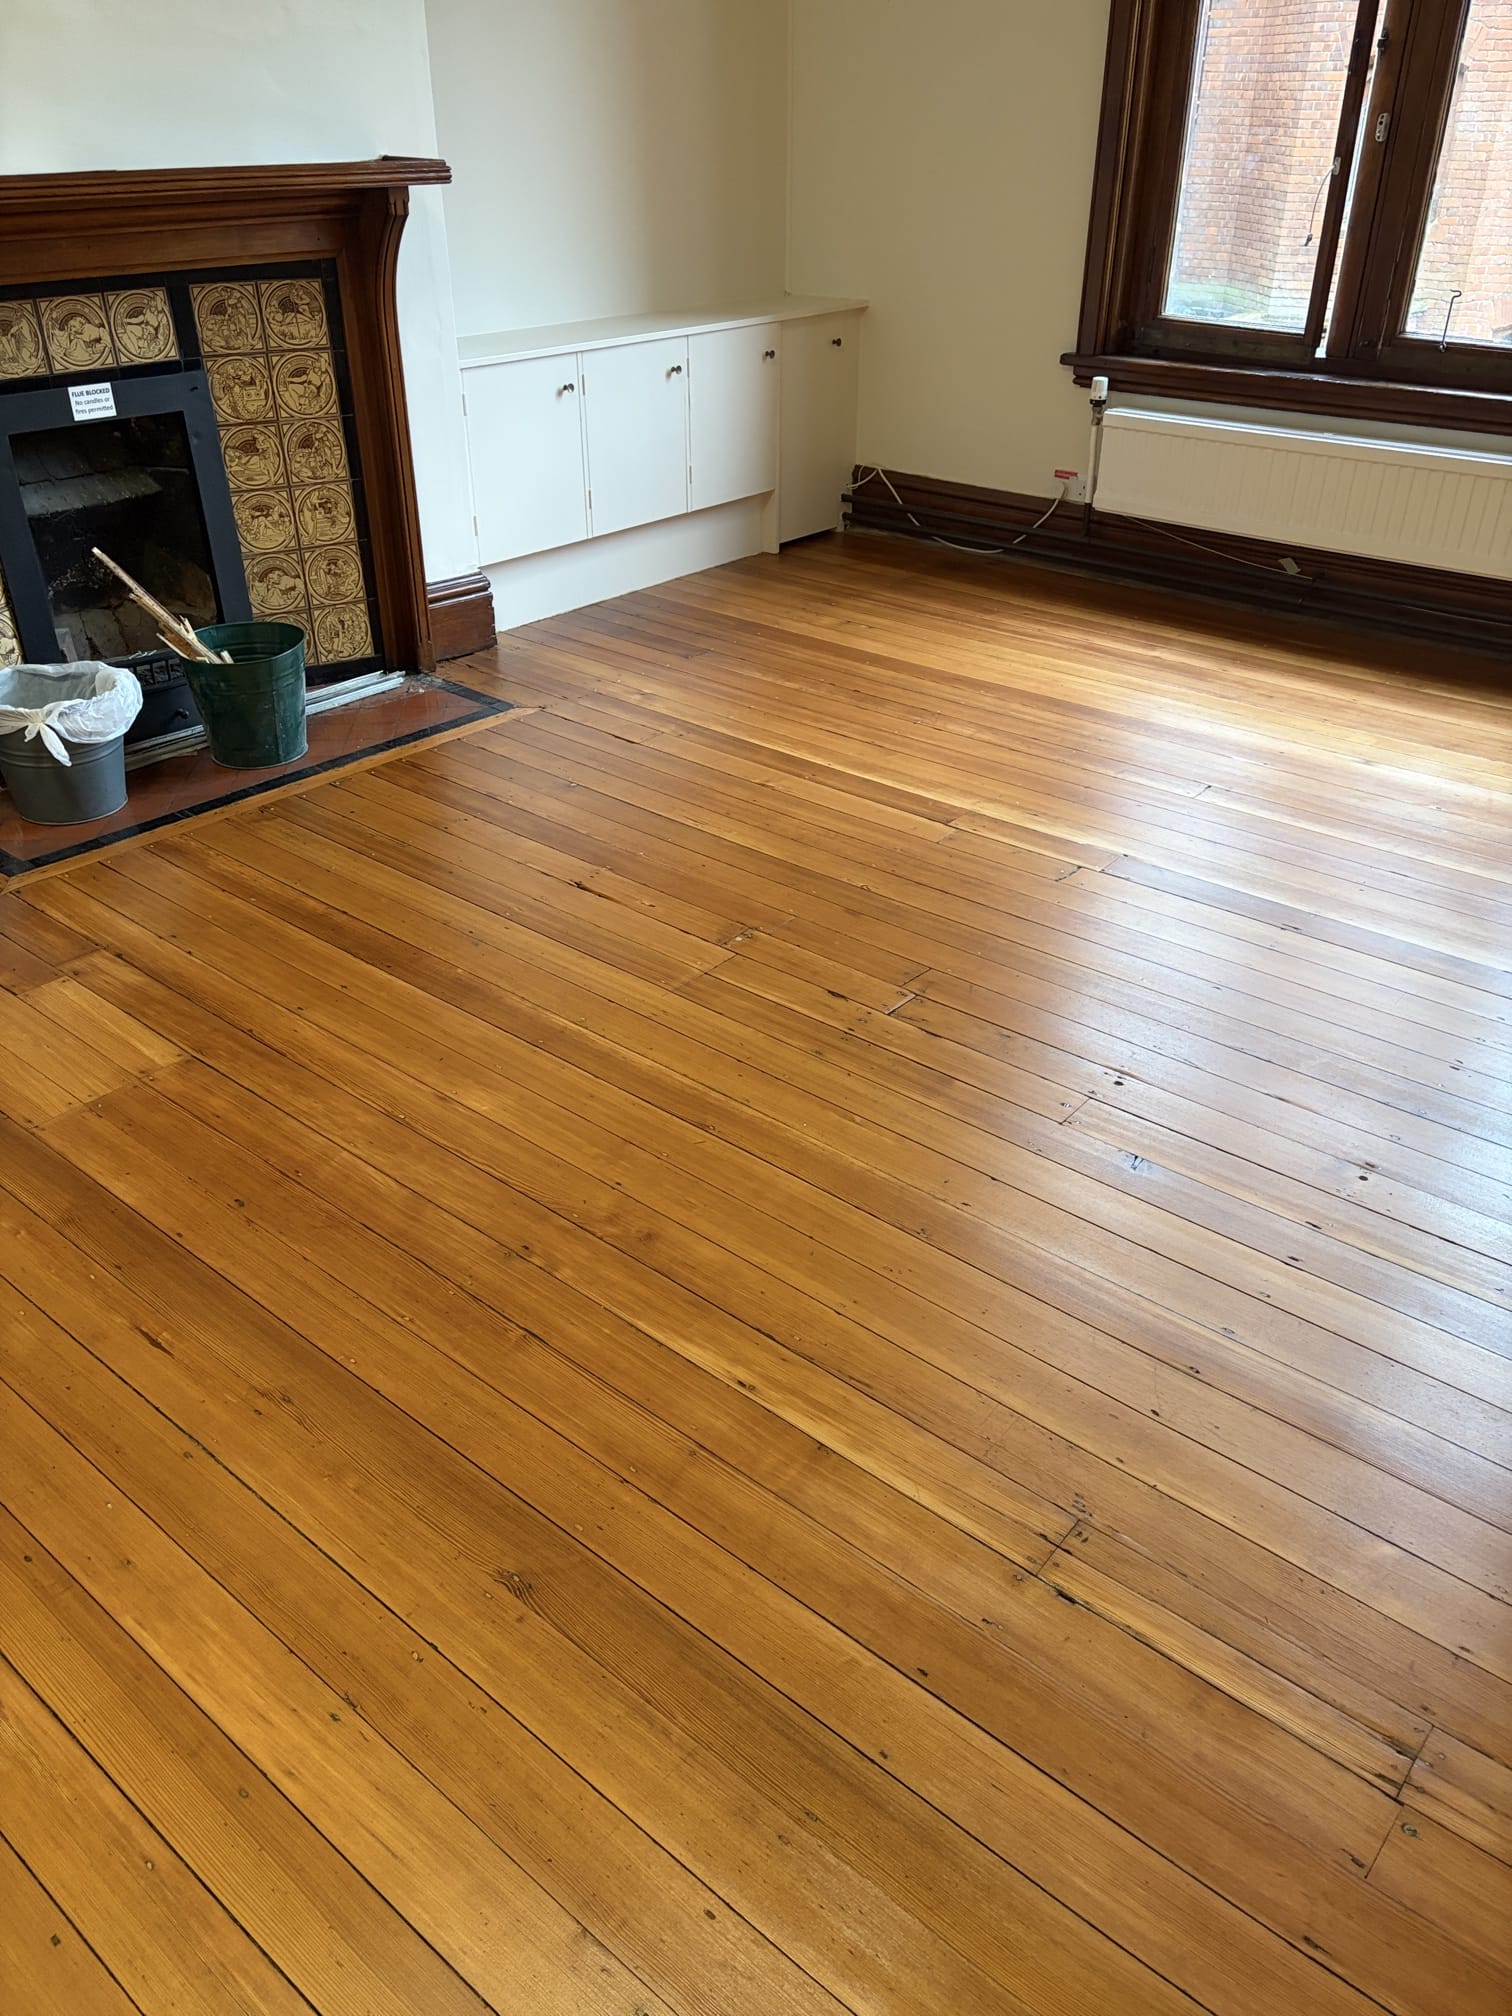
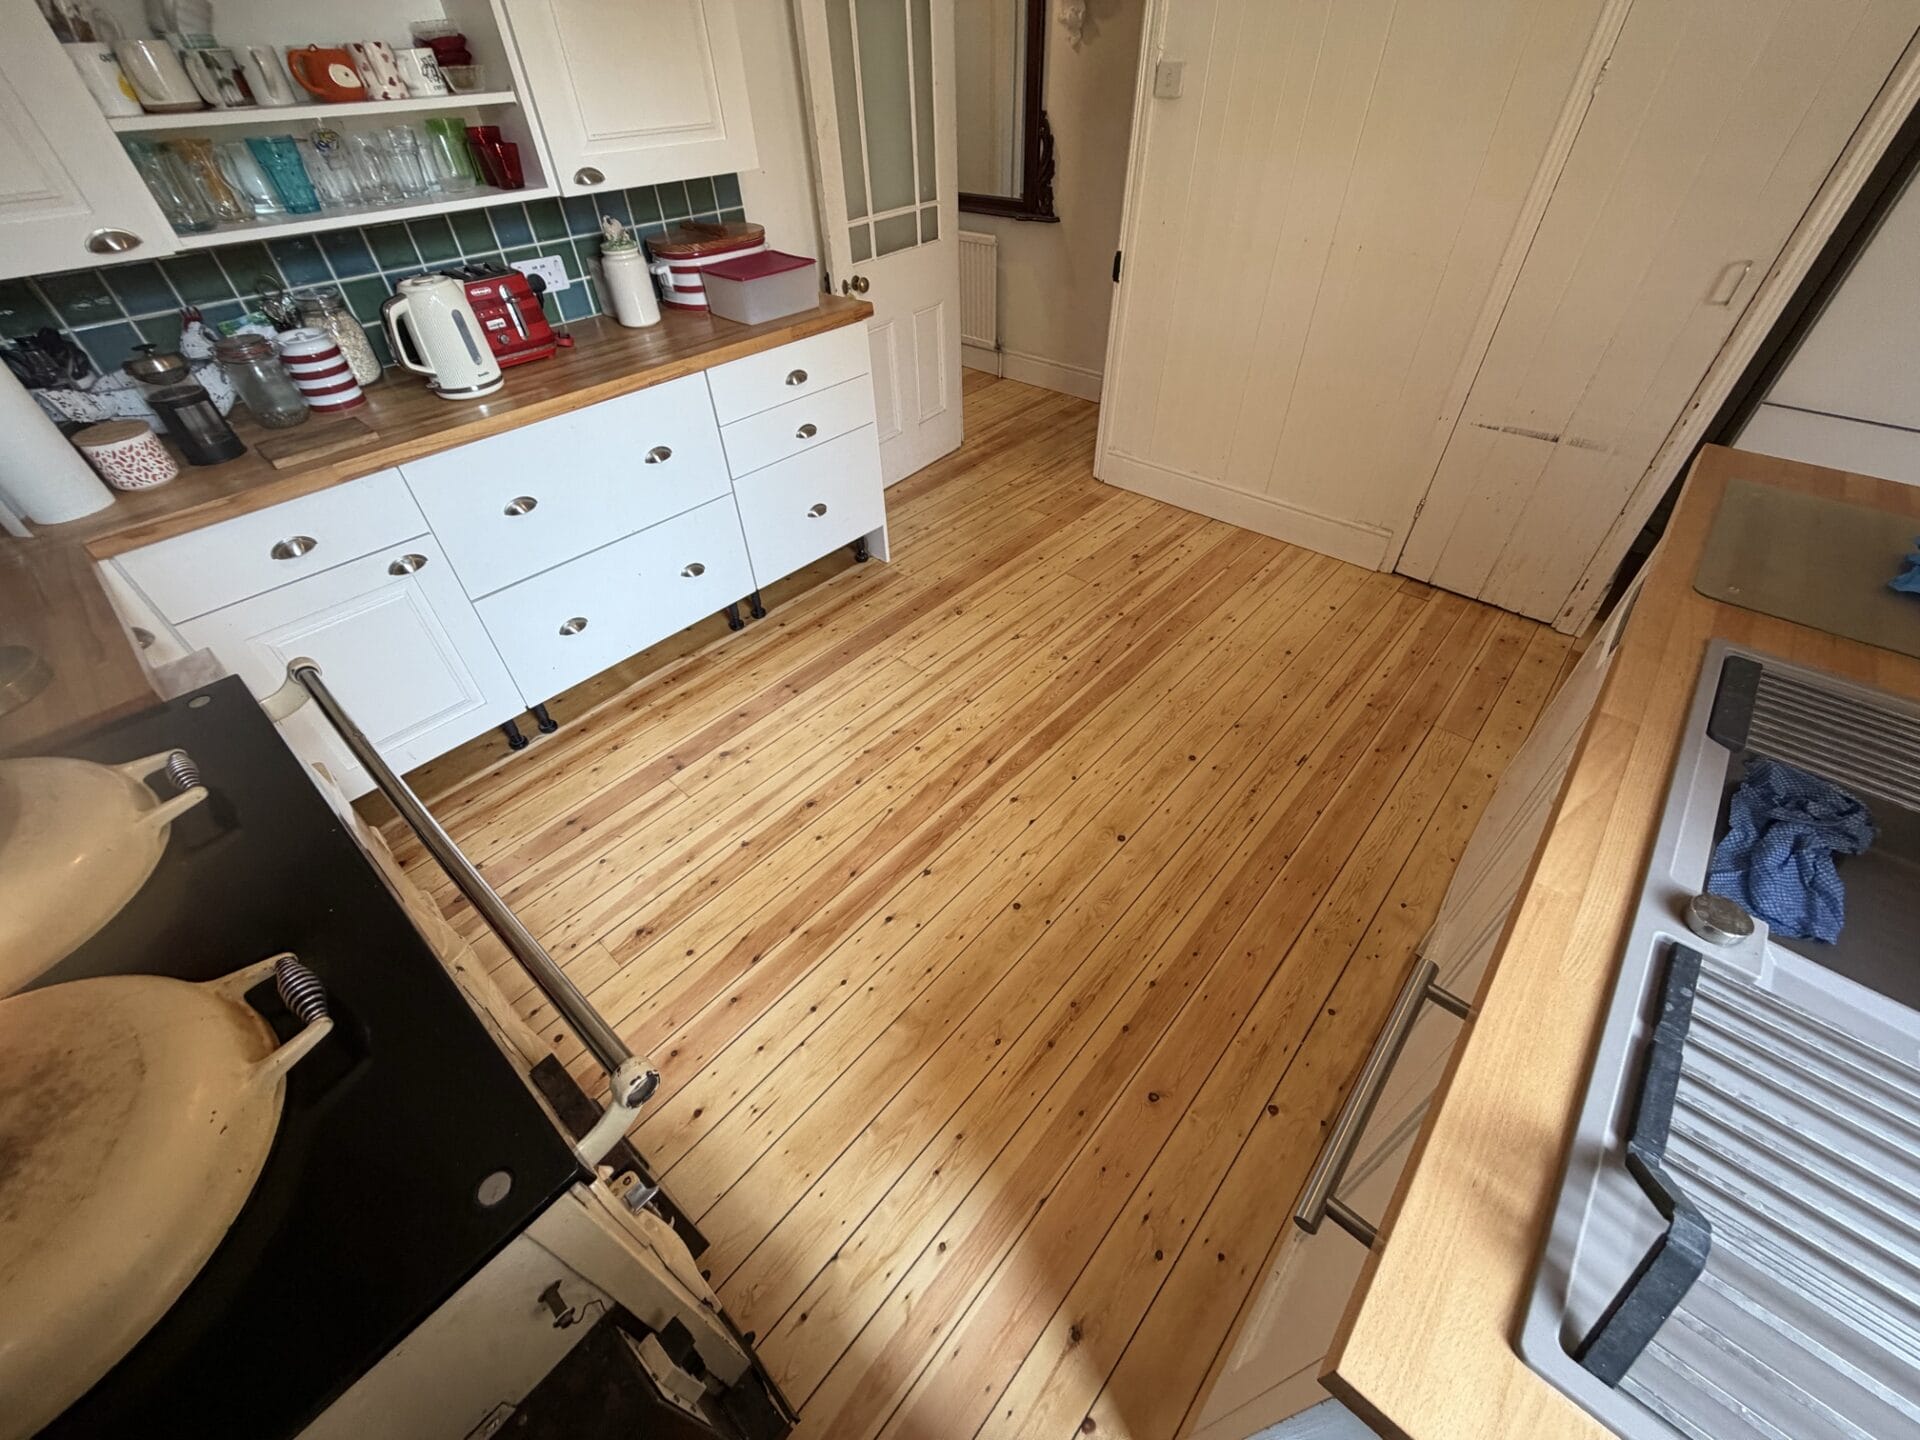
Sanding brings the floor back to a clean, even surface. It lifts the room visually, makes everyday cleaning easier, and protects the wood properly so it lasts. Done well, it is not just cosmetic. It is long-term care for the structure beneath your feet.
What does sanding floorboards actually involve?
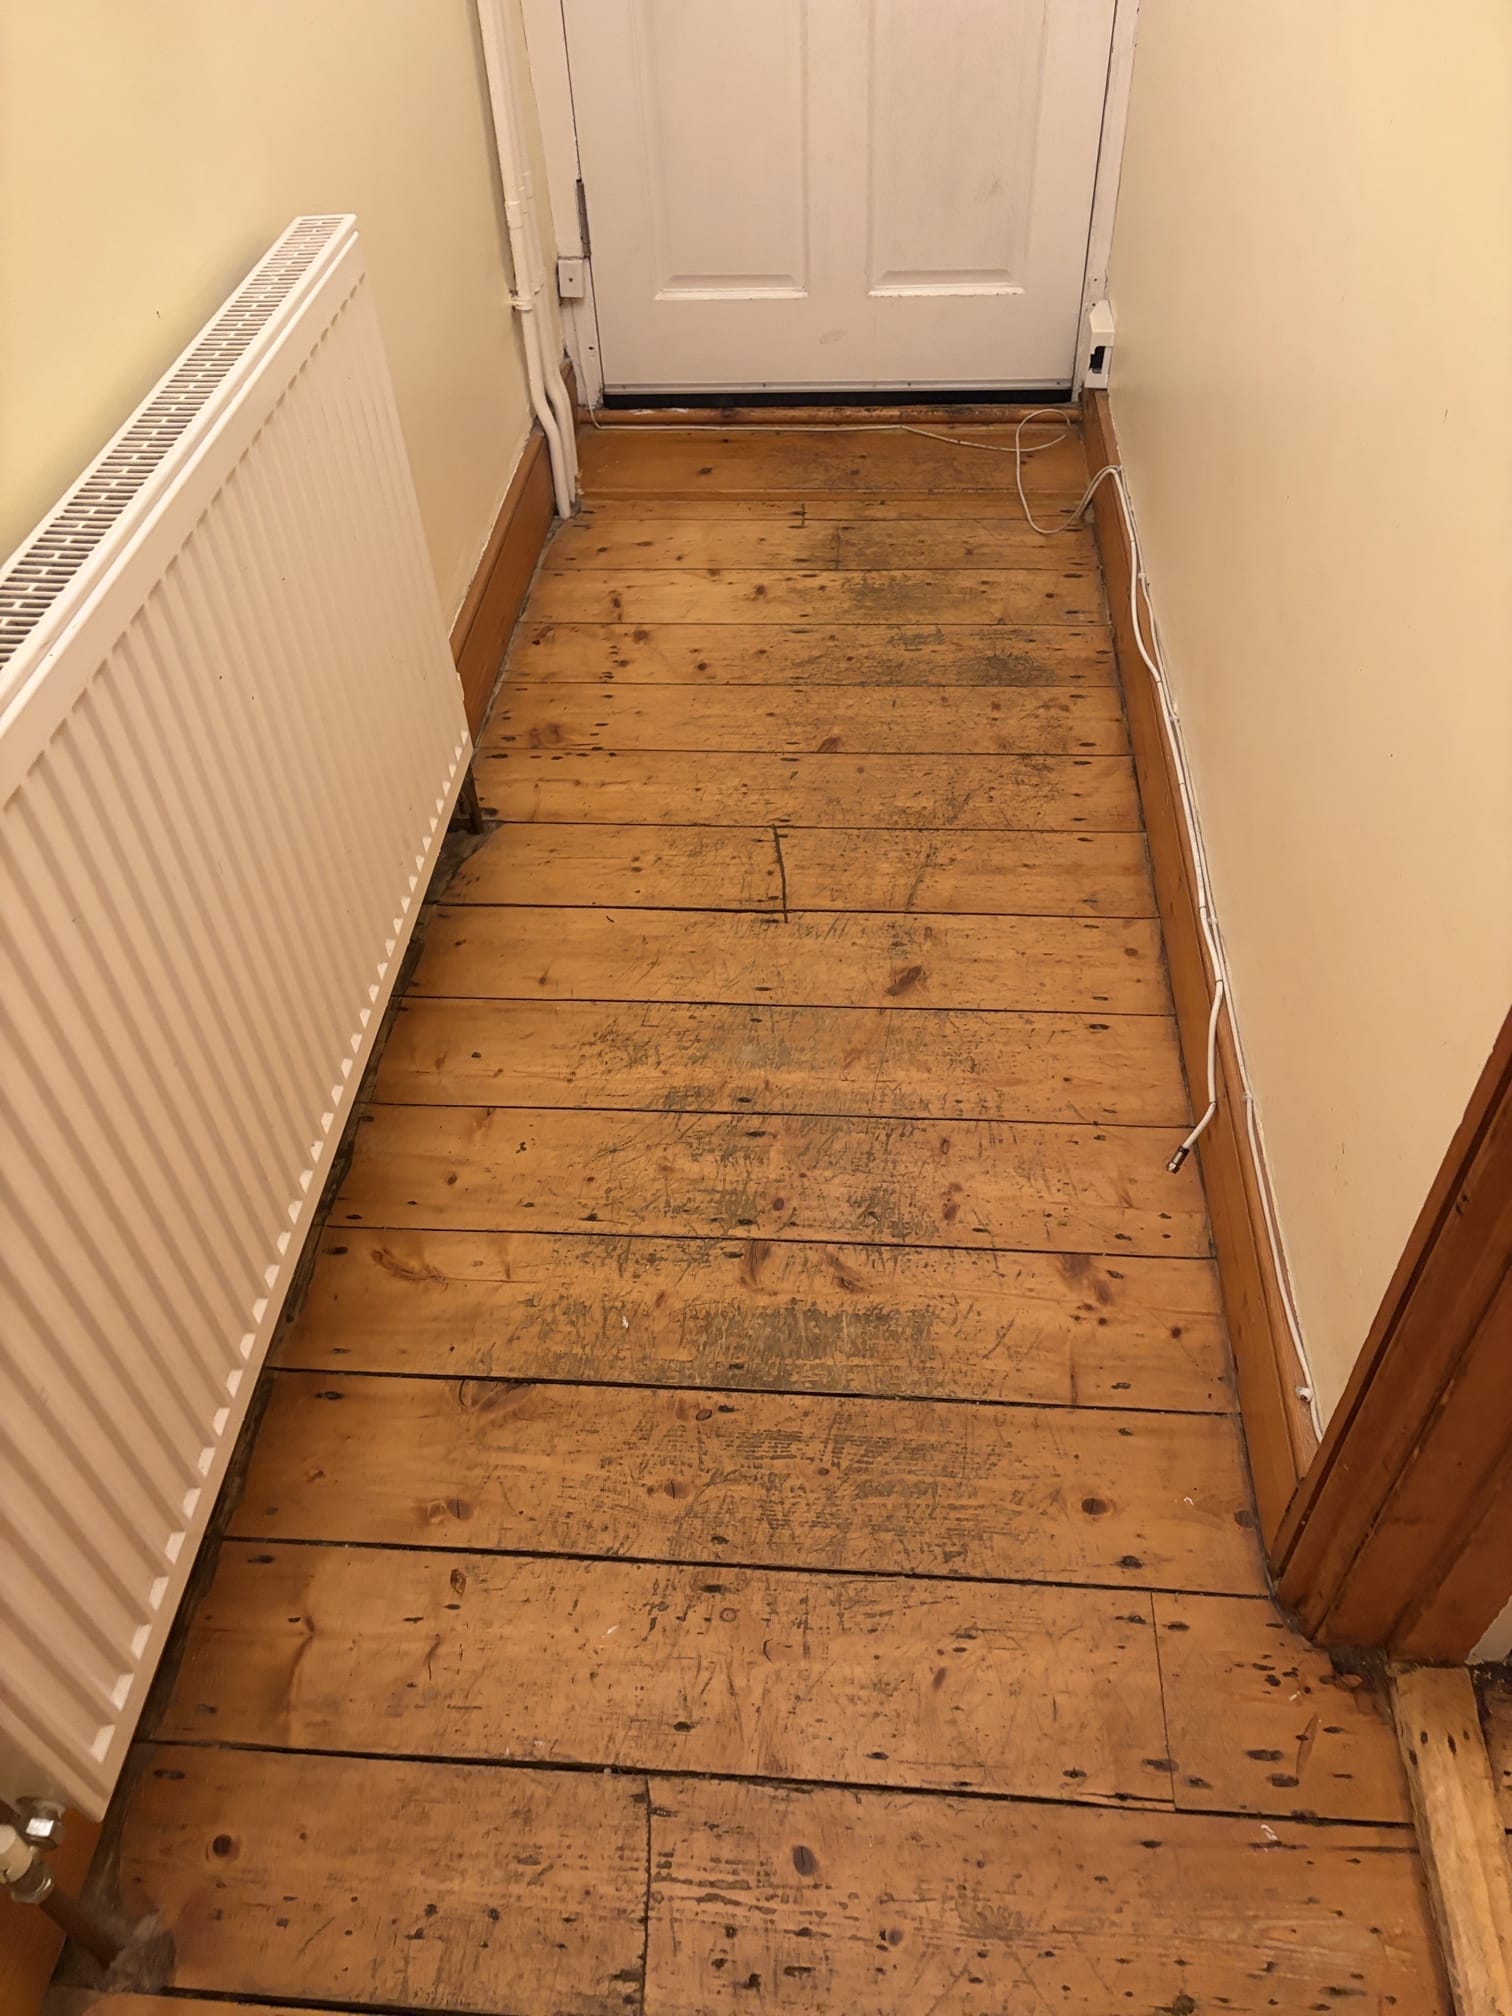
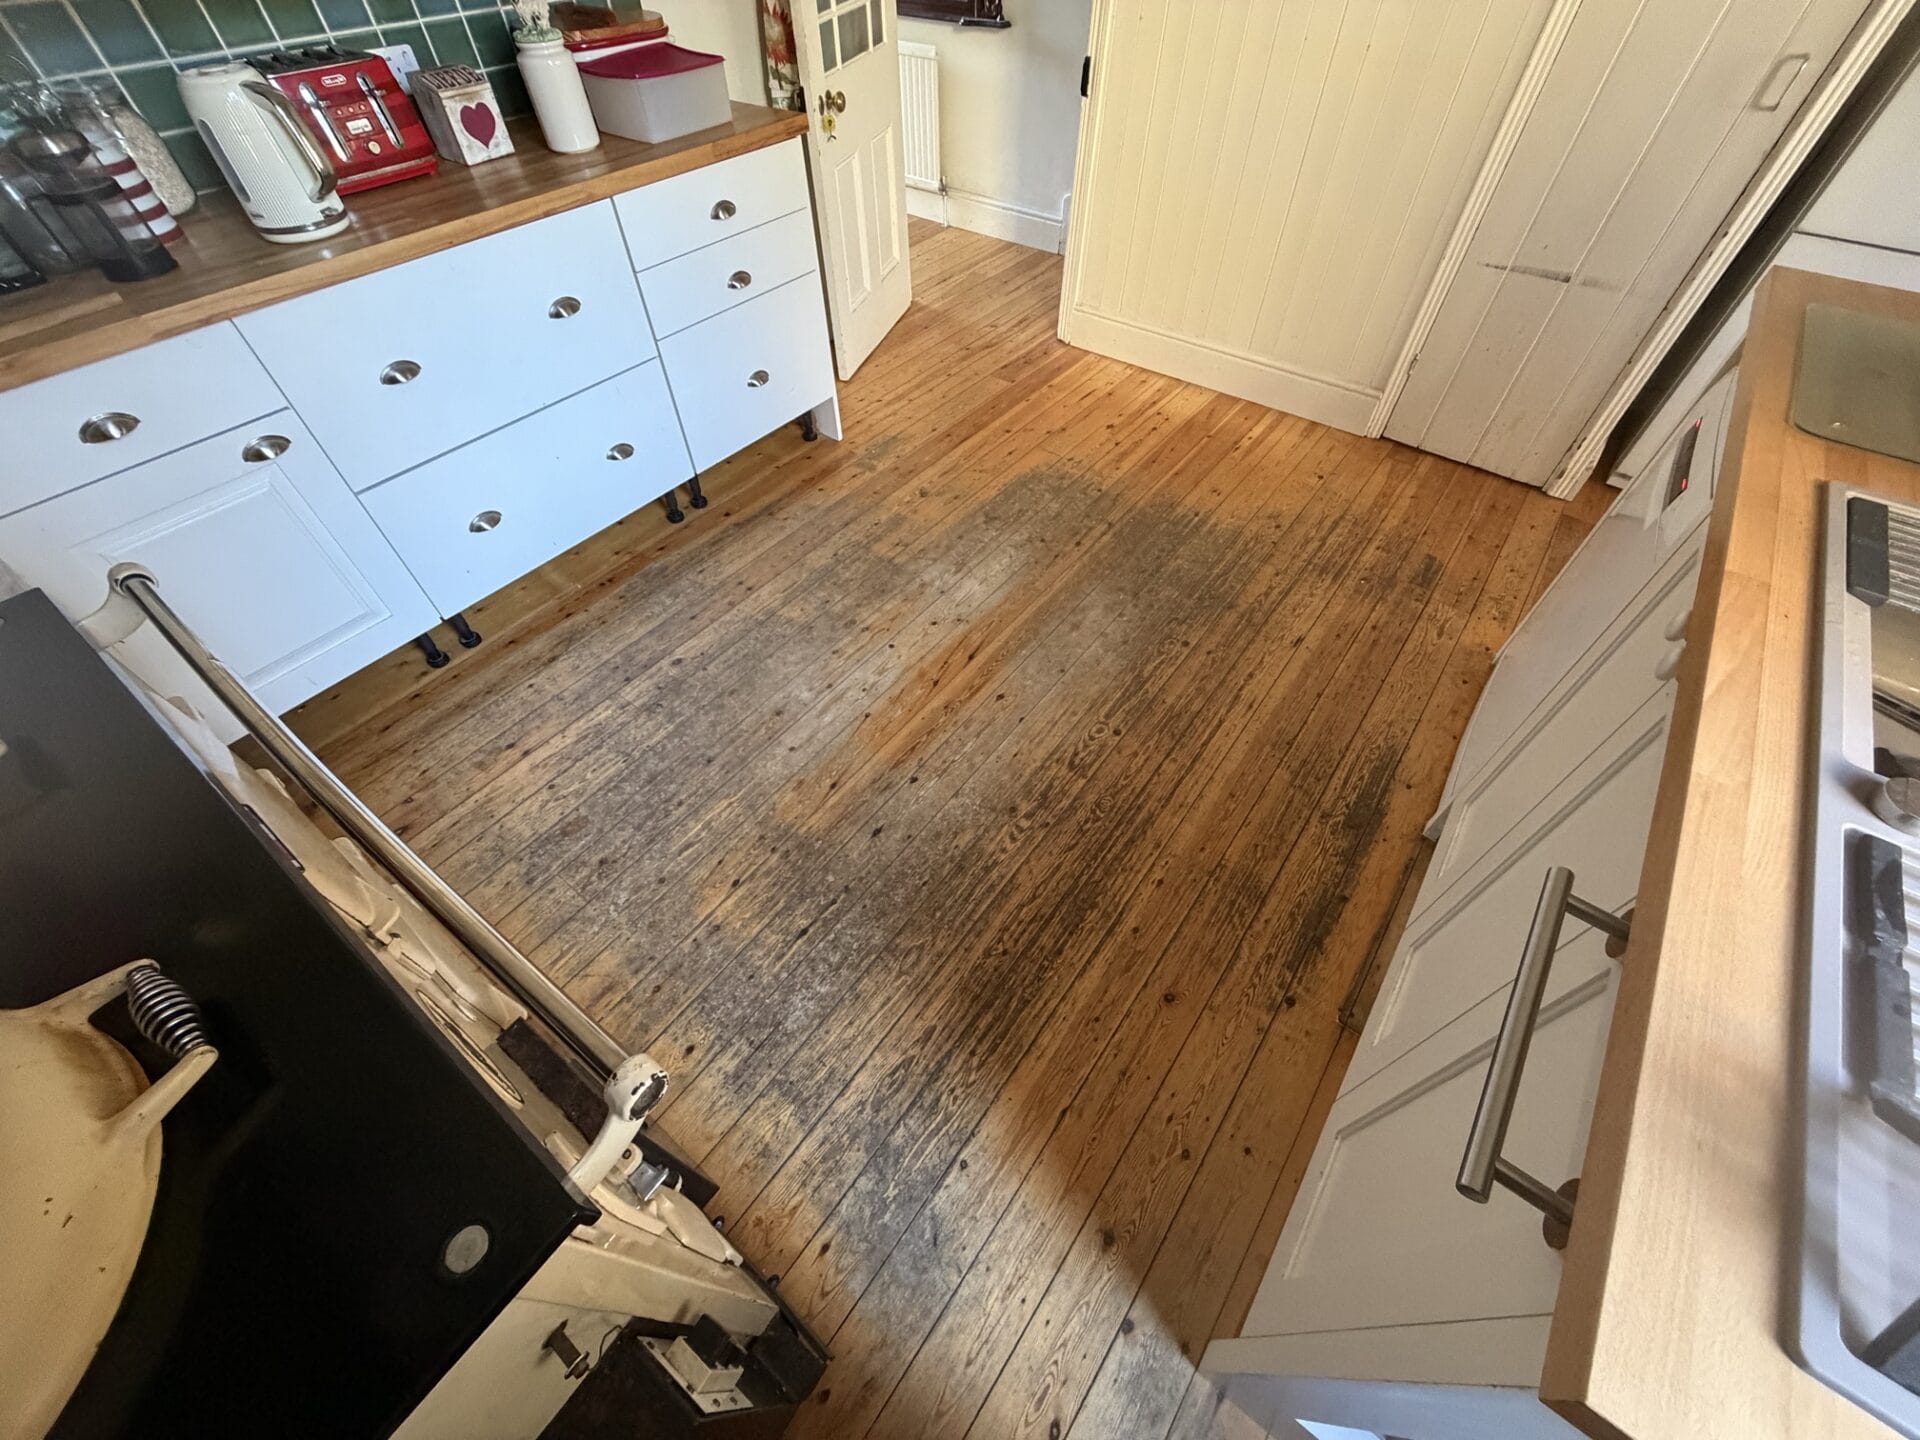
Sanding floorboards means taking the surface back to fresh wood, or close to it. Over time, that surface builds up layers of wear, old varnish, marks, and small imperfections.
The sanding stage removes that layer and levels the boards. After that comes refinishing, which includes sealing, protecting, and restoring the look of the floor.
Professional setups usually involve a main floor sander for the open areas, an edge sander for the perimeter, and a finishing machine to blend everything together. It is a controlled process, not just “sanding until it looks better”.
What difference does sanding make to your floor?
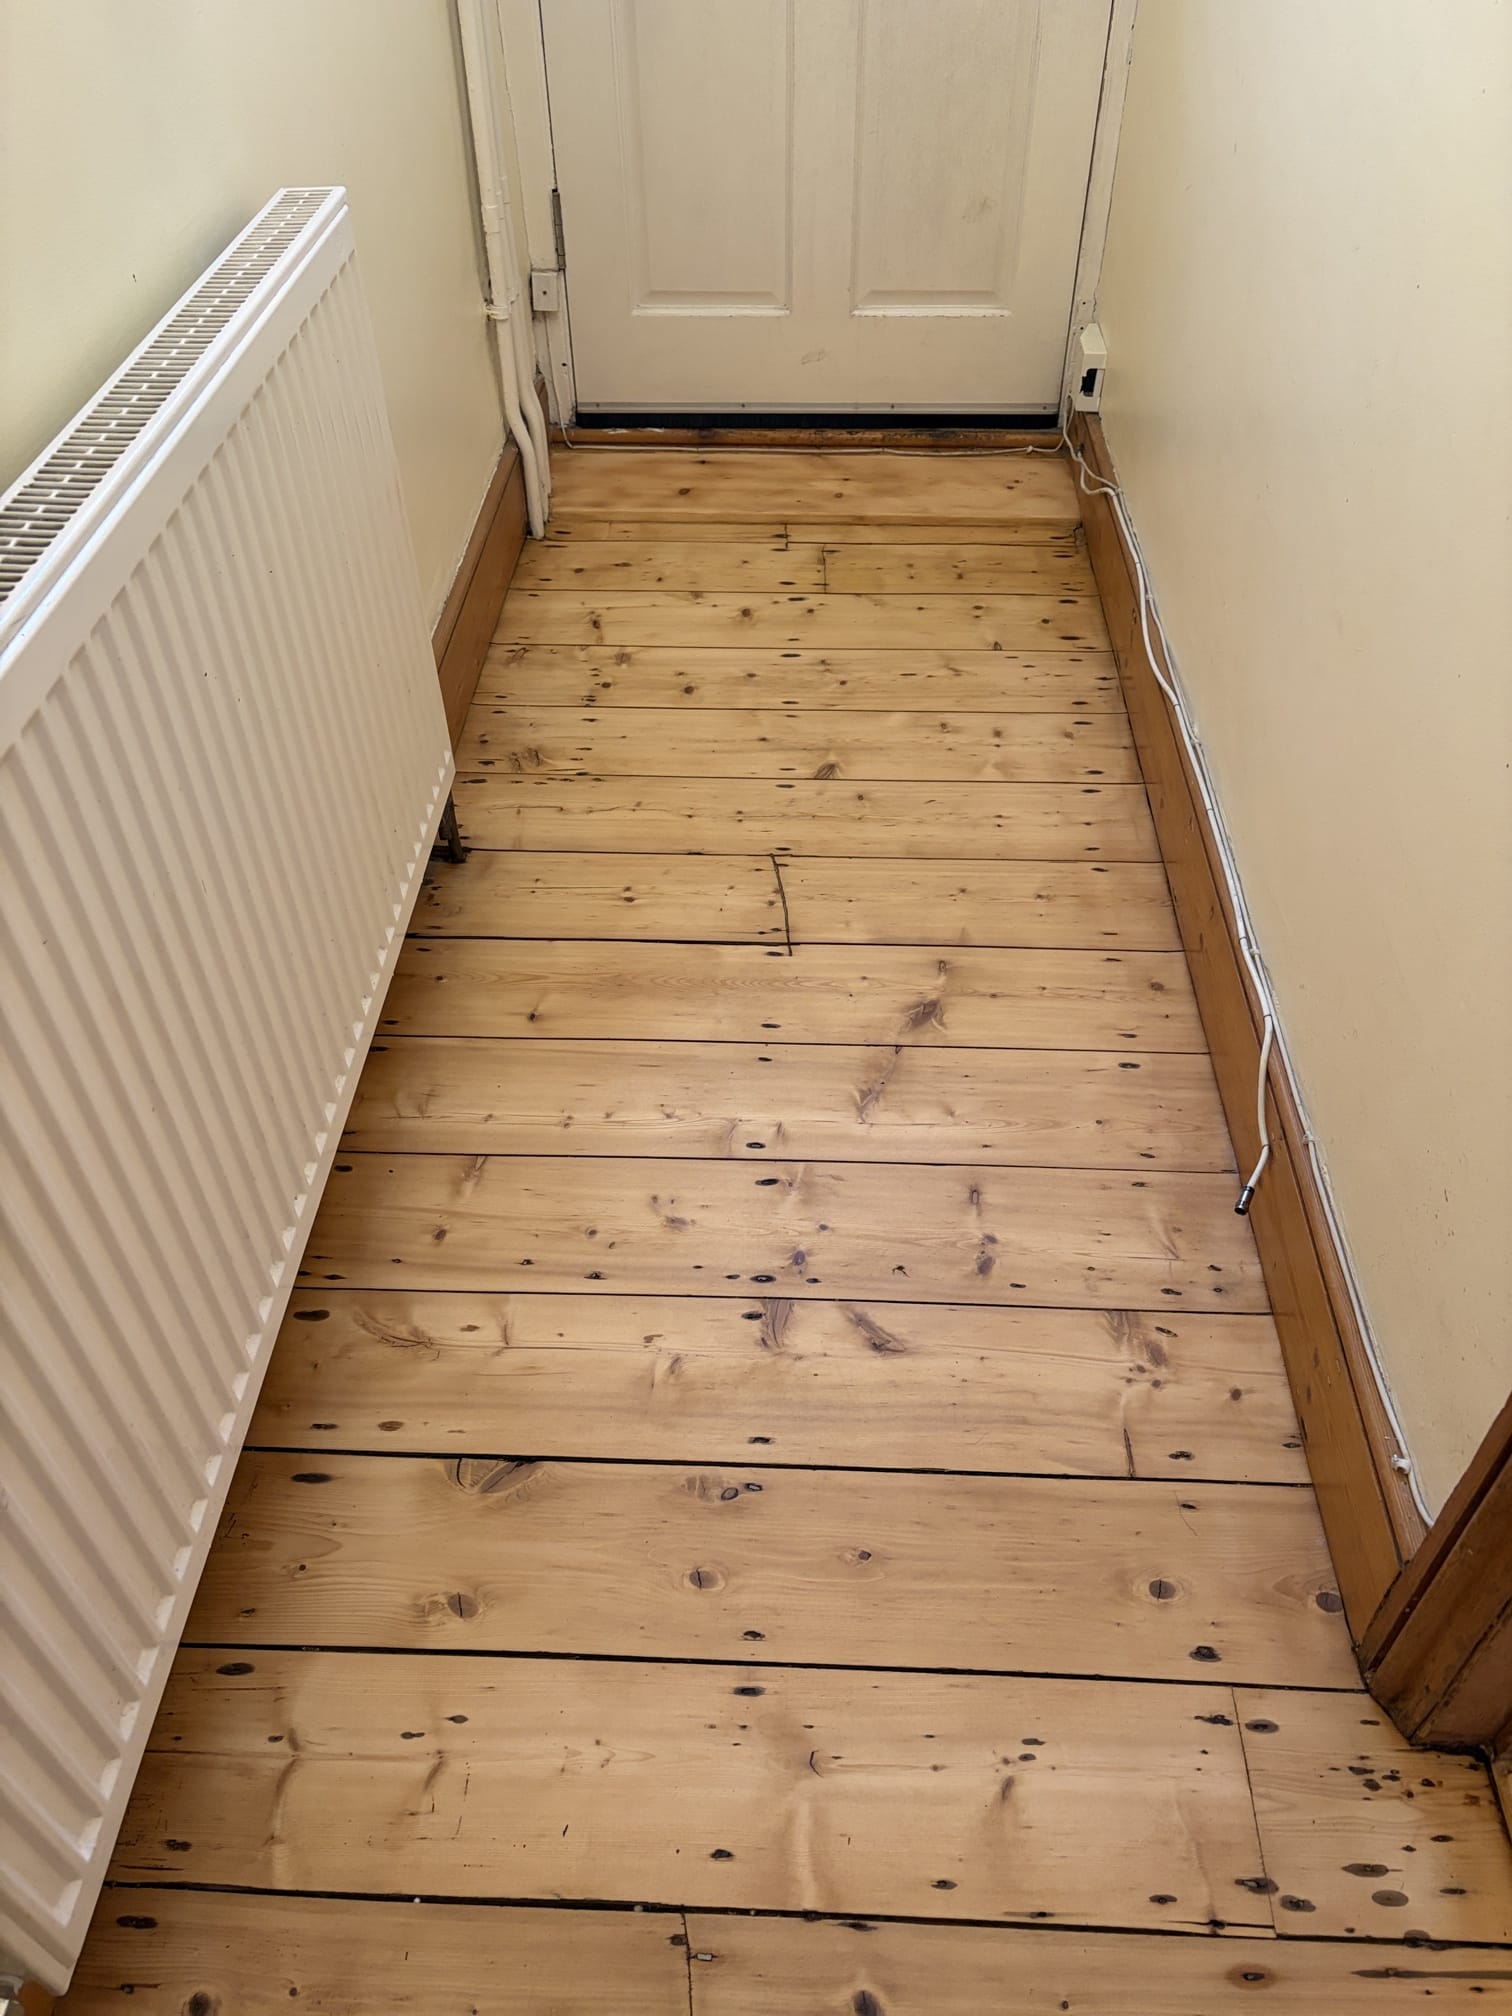
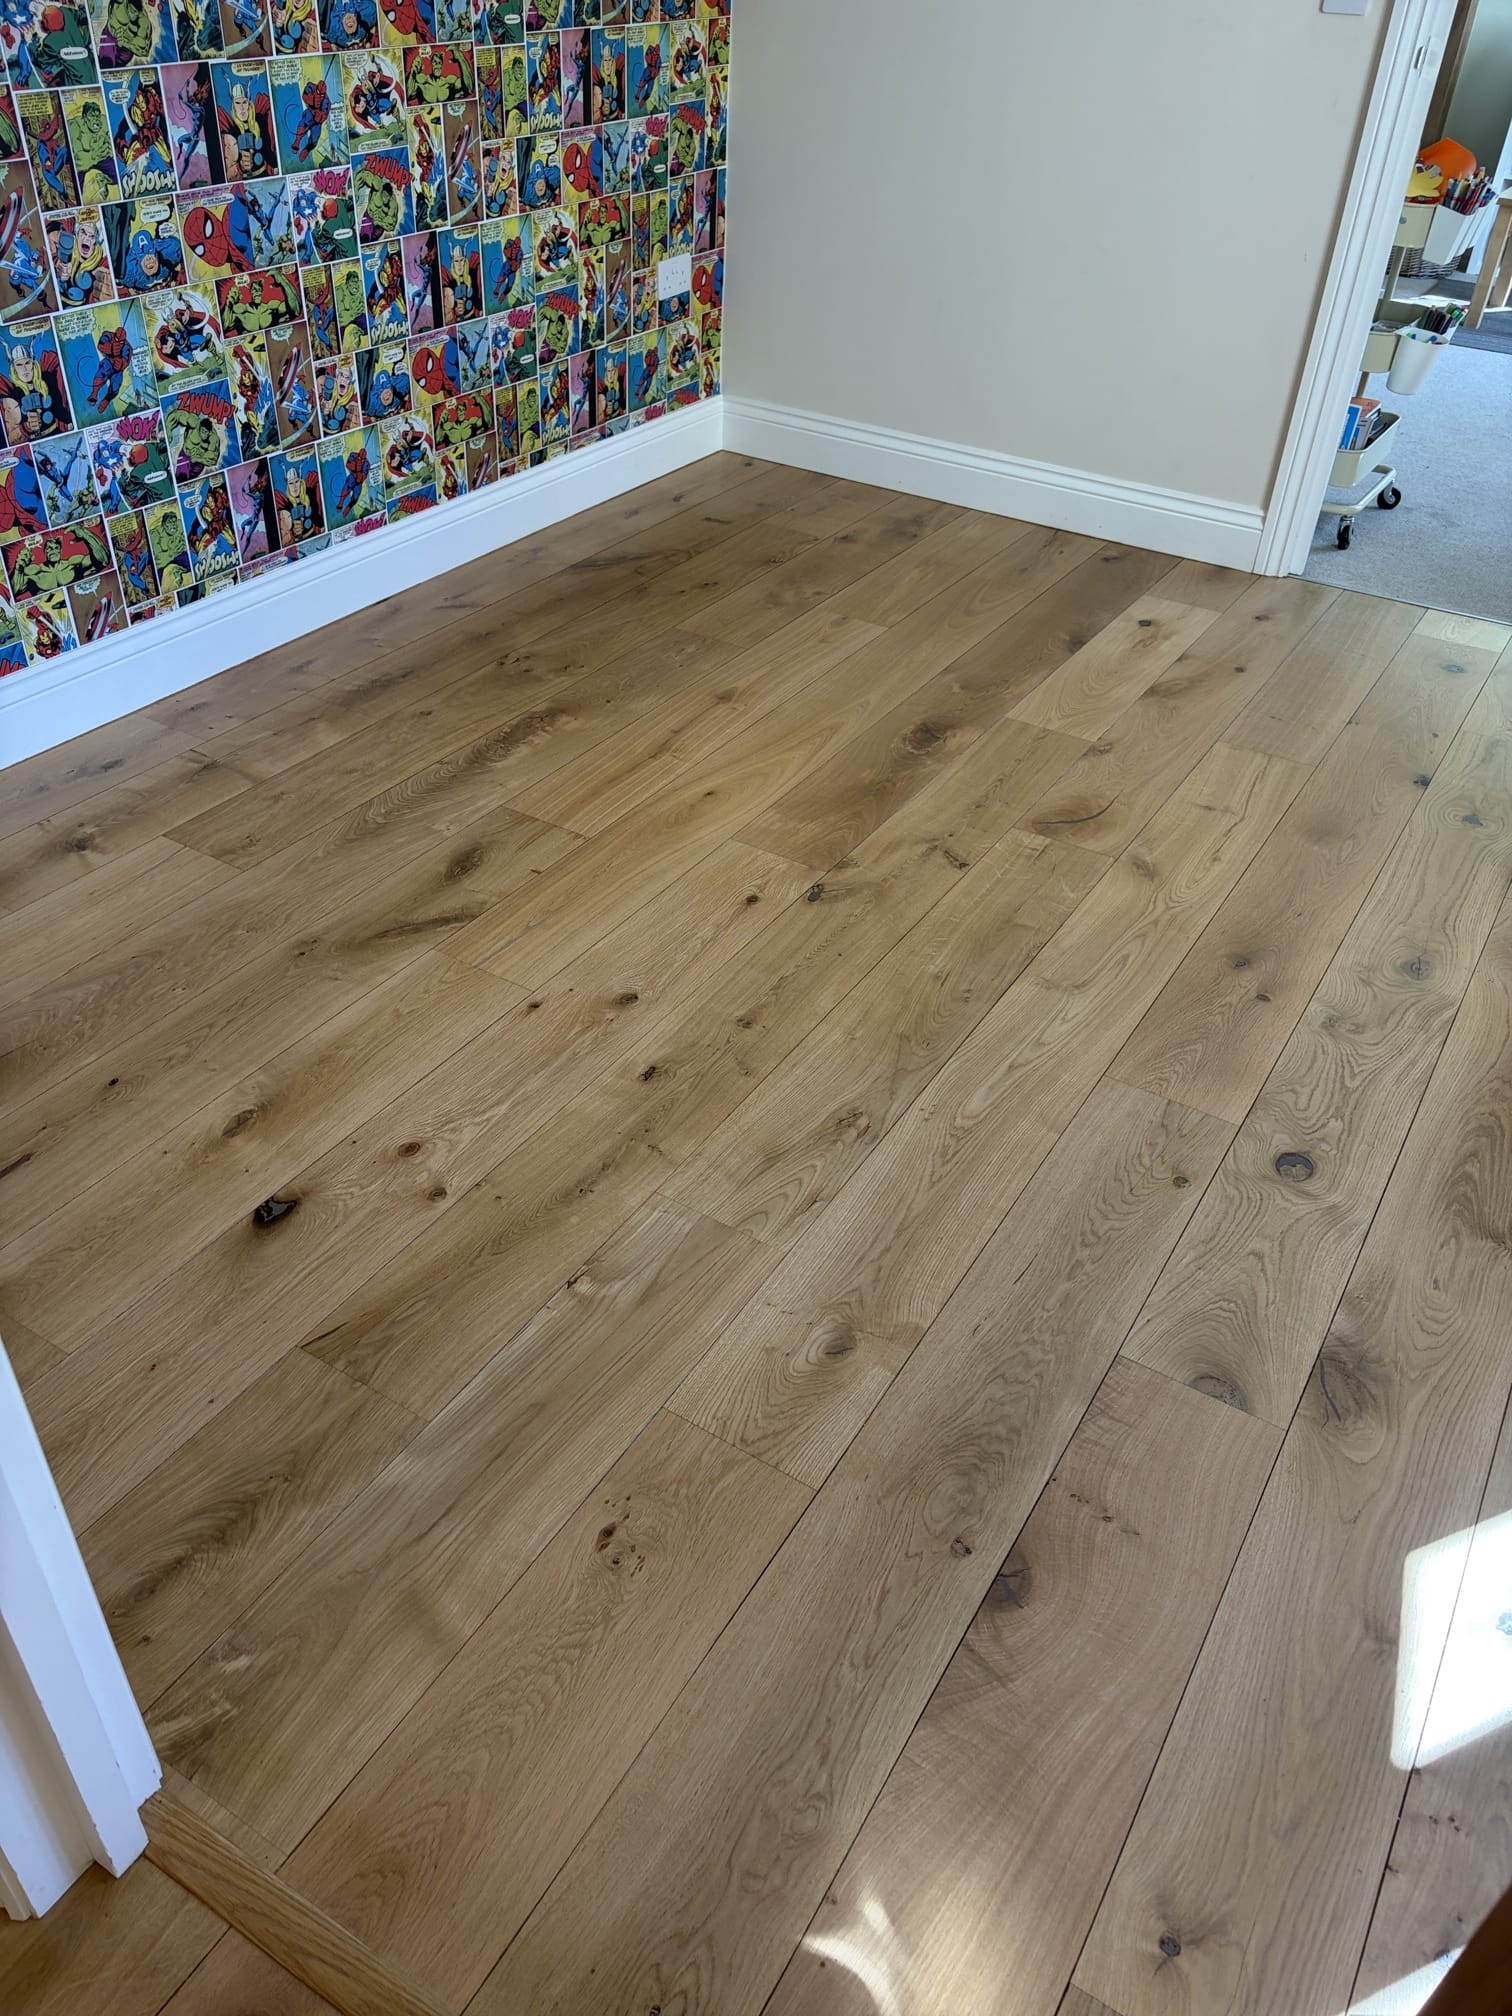
The change is often felt as much as seen. A freshly sanded floor feels smoother, quieter underfoot, and more settled in the space.
It also reveals the natural grain again. Years of wear can hide the detail in the wood, especially if they are in high-traffic areas like hallways and living rooms. Sanding brings that back.
There is also a practical side. Solid wooden floors can often be sanded more than once over their lifetime, which means restoration is usually far more cost-effective than replacing the floor entirely.
For many homes in Newmarket, especially period properties, this is about keeping what is already there and making it work properly again.

When is the right time to sand your floorboards?
Most people do not plan to sand their floors. They reach a point where something feels off.
You might notice deeper scratches, worn patches where the finish has gone, or areas that always look dull. Sometimes there are marks from water or movement in the boards that have become more visible over time.
Another common sign is inconsistency. Parts of the floor look shiny, others flat. That usually means the protective layer has worn unevenly.
If the boards are structurally damaged or loose, sanding alone is not enough. In those cases, repair comes first, then sanding as part of a full restoration.
What’s involved in sanding floorboards properly?
The process works best when it is steady and structured. Rushing or skipping steps is where most problems start.
- Preparing the room
The space needs to be cleared fully. Furniture, carpets, and fixings like grippers and staples all need to come out. Nails or screws must be set below the surface to avoid damaging the sanding equipment.
Dust control is also VERY important. Even with modern machines, sealing off the area helps protect the rest of your home.
- Checking the condition of the boards
Before the sanding begins, the floor is inspected for movement, damage, or uneven areas. Loose boards are secured, and any repairs will get done early.
This stage often decides how smooth the final result will feel.
- Coarse sanding
The first pass removes the old finish and levels the surface. It is the most aggressive stage and needs careful control.
The aim is evenness across the floor, not perfection in one spot.
- Medium sanding
This stage refines the surface and removes the marks left by the coarse grit. It is where the floor starts to look more consistent.
Edges and corners are blended carefully so the whole floor feels like one surface.
- Fine sanding
The final sanding stage creates the smooth finish you feel underfoot. It also prepares the wood for sealing.
Small details matter here, especially around edges and thresholds.
- Cleaning before finishing
Dust is removed thoroughly, often more than once. Any remaining particles can affect the final finish.
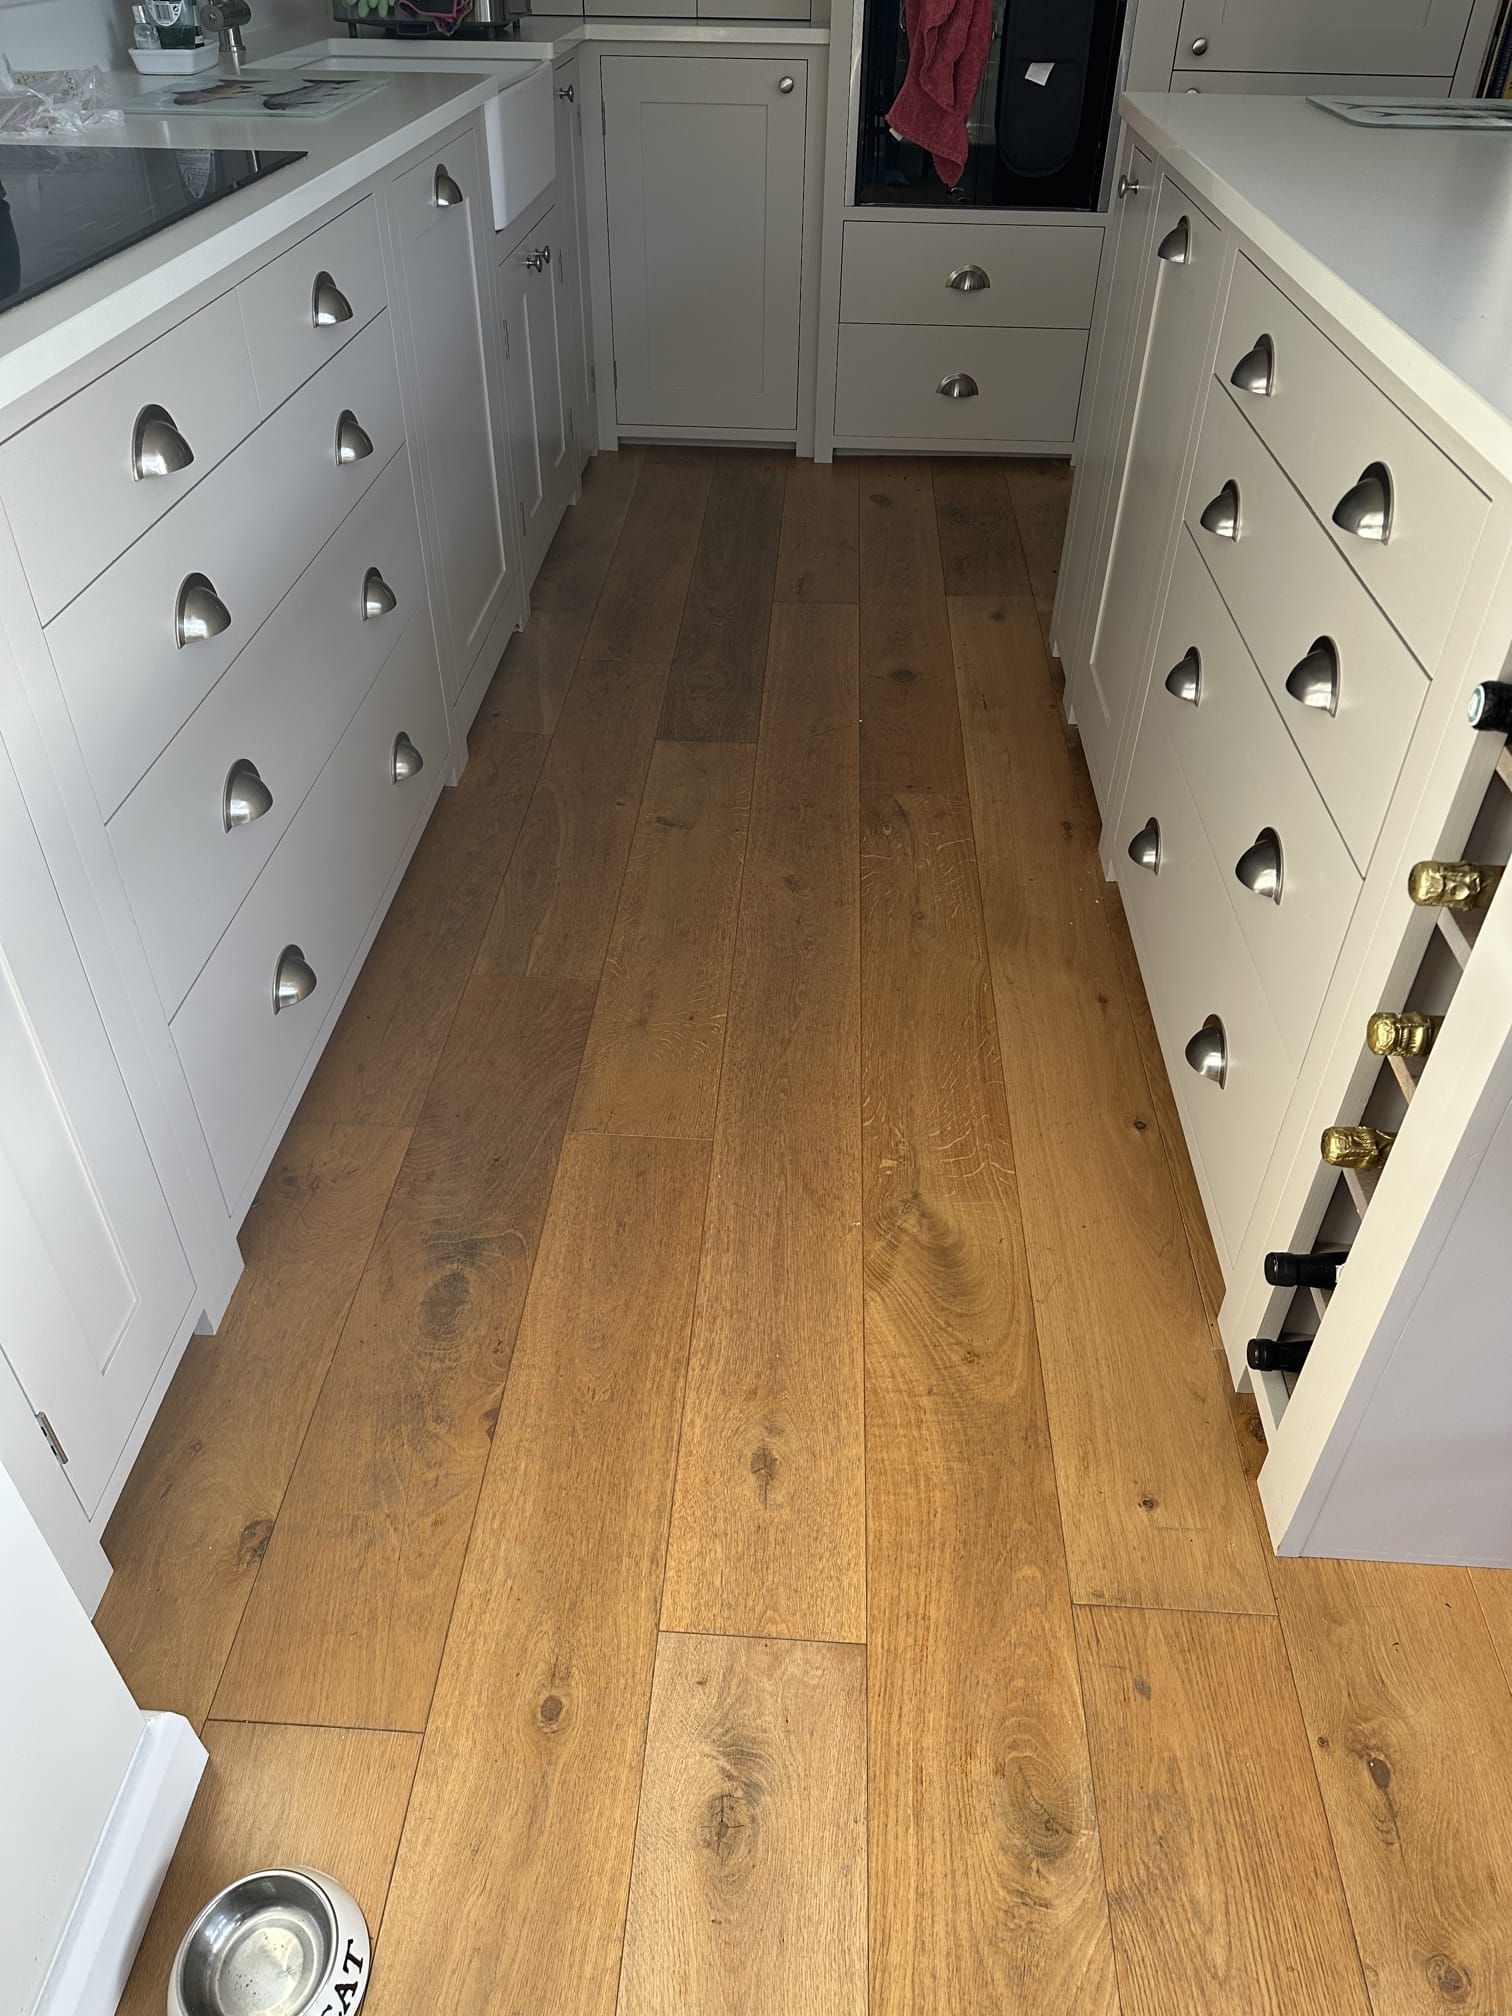
- Sealing and finishing
This is where the protection goes on. Options include durable lacquers or natural-looking oils, depending on the finish you want and how the room is used.
Applied correctly, this stage protects the floor from wear, moisture, and daily use.
DIY or professional sanding, what works best?
It can be tempting to hire a machine and try it yourself. In some cases, that works. But sanding is one of those jobs where small mistakes are very visible.
A professional approach reduces risk. The finish tends to be more even, dust is better controlled, and the process is quicker overall.
For families in Newmarket, the main consideration is disruption. A professional job is usually planned so that the space is back in use as quickly and smoothly as possible.
How much does floor sanding cost in Newmarket?
Costs vary depending on the condition of the floor, the size of the area, and the level of preparation needed.
Across the UK, sanding and refinishing are often priced per square metre. Most projects fall within a broad range, depending on detail and finish choice.
Older homes or floors that need repairs can take longer, which affects pricing. Smaller rooms can sometimes cost more per metre because the setup time is similar regardless of size.
The simplest way to understand cost is to look at the floor itself. Once you see the condition clearly, the pricing usually makes sense.
Common mistakes to avoid…
Most issues with floor sanding come from rushing or missing small details.
Skipping sanding stages can leave visible marks in the wood. Sanding too heavily in one area can create dips that are hard to correct.
Missed nails or debris can damage equipment and mark the floor. Dust left behind can affect the finish.
Applying the finish too quickly or too thickly often leads to uneven results.
A steady, methodical approach is what creates a floor that feels right for years.
How to look after your floor after sanding
Once the floor is finished, maintenance becomes so much more simple.
Regular sweeping or vacuuming keeps grit from scratching the surface. Using the right cleaner helps protect the finish without damaging it.
In busy homes, especially with children or pets, your rugs in high-traffic areas can help extend the life of the finish.
If the surface starts to look tired over time, a maintenance coat can refresh it without needing a full sanding again.

Frequently asked questions…
How long does floor sanding take?
Most rooms take one to a few days, depending on the condition and drying times between coats.
Can all wooden floors be sanded?
Solid wood floors can usually be sanded more than once. Engineered floors can sometimes be sanded, but only if the top layer is thick enough.
Do floors need sealing after sanding?
Yes. Sanding removes the protective layer, so sealing is essential to protect the wood and complete the job.
Will sanding create a lot of dust?
Modern equipment reduces dust significantly, but careful preparation and cleaning are still important.
Before you decide
A sanded floor changes the feel of a home. It replaces worn, uneven surfaces with something smooth, clean, and settled.
For many homes in Newmarket, it is about restoring what is already there rather than replacing it. Done properly, it brings the room back into balance.
If you are unsure whether your floor needs sanding or what the process would involve in your home, feel free to ask. We will talk it through clearly, no pressure.