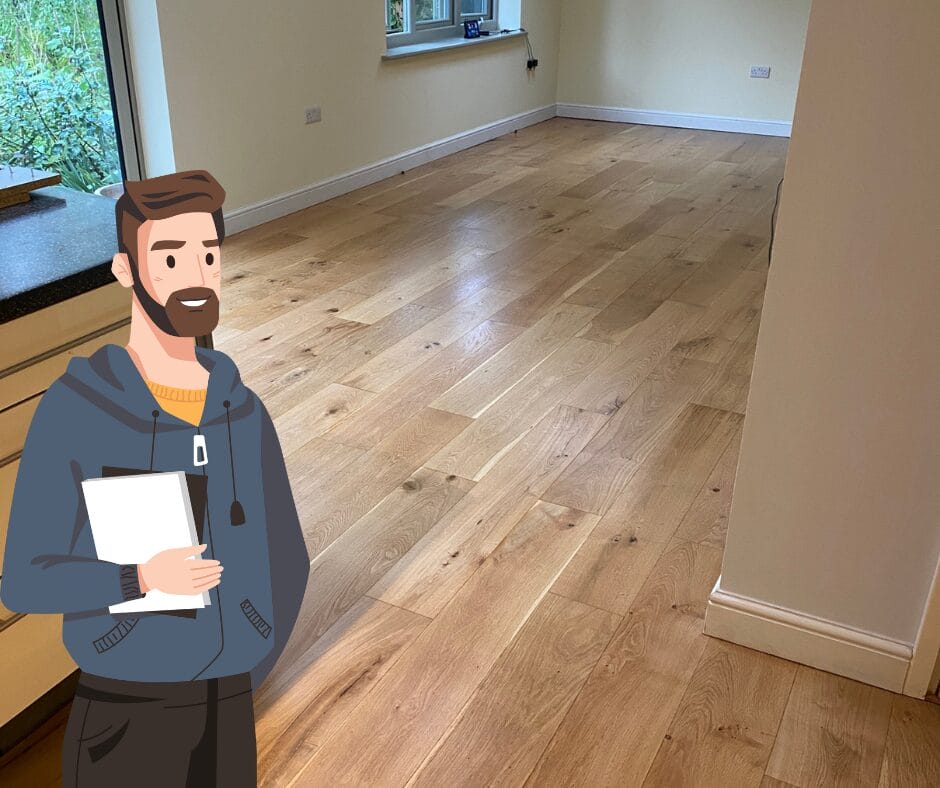
If your Newmarket home has maple wood floors, you’ve likely admired their beautiful grain and durability. But over time, even the most well-maintained floors may start to show signs of wear. So, how exactly do we restore your maple wood floor to its former glory? Let’s walk through the process, from preparation to finishing, with all the details you need to know.
Here Are Some Maple Wood Floors We Have Restored, Stunning!
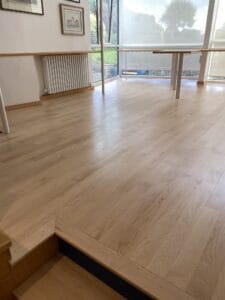
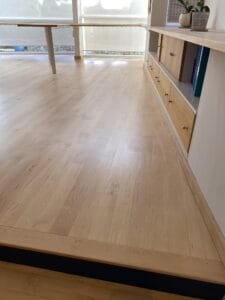
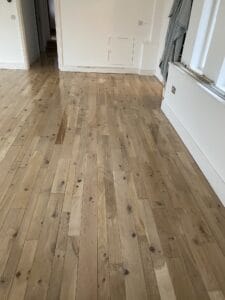
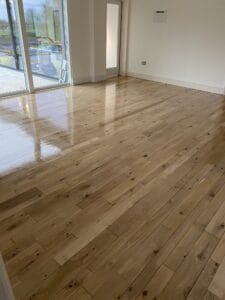
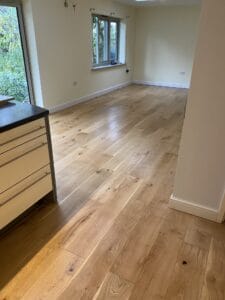
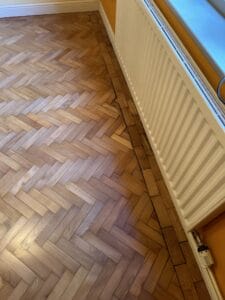
Why Choose Maple Wood?
Maple is a popular choice for flooring due to its fine, straight grain and strength. It ranks high on the hardness scale, which means it’s resistant to scratches and dents. This makes it ideal for homes, especially in high-traffic areas. The light cream to medium brown tones of maple wood also provides a neutral backdrop, complementing a variety of interior designs.
The Restoration Process: Step-by-Step
Restoring your maplewood floor involves several key stages: preparation, sanding, and finishing. Each step is crucial to achieving that smooth, polished look you want for your home.
Step 1: Preparation Is Key
Before any sanding begins, preparation is vital. A well-prepared surface sets the foundation for a flawless finish.
- Inspection: The first thing we do is inspect your floor thoroughly. We check for any damage, like cracks or gaps, and use wood filler to repair these imperfections. This helps ensure that the floor is smooth and even before sanding begins.
- Cleaning: A clean surface is essential. We remove all dust, debris, and any existing floor finish. This is where a tack cloth comes in handy, ensuring we’re not sanding over dirt or old finish, which could lead to a poor result.
- Safety Gear: While our team takes care of the technical aspects, we use protective gear to keep the workspace safe from dust and debris.
Step 2: Sanding the Maple Wood Floor
Sanding is the most critical stage in restoring maplewood floors. Given its hardness, maple requires a meticulous approach to avoid damaging the grain or leaving uneven patches.
- Start with Coarse Grit: We begin sanding with coarse-grit sandpaper (around 40–60 grit). This removes any old finish and smooths out imperfections. The key here is to sand in the direction of the wood grain, which helps maintain the natural beauty of the wood.
- Gradual Sanding with Finer Grits: After the initial sanding, we gradually work our way through finer grits of sandpaper. Moving from medium (80–100 grit) to fine (120 grit), this stage smooths out the floor and removes any scratches left by the coarser grit.
- Final Sanding: Finally, we use the finest grit to give your maple floor a smooth, polished surface. This prepares the wood for the next stage—finishing.
Step 3: Finishing—Bringing Out the Beauty
Finishing not only enhances the look of your maple floor but also protects it from wear and tear. Here’s how we apply the finishing touch:
- Choosing the Right Finish: When it comes to maple, the right finish is crucial. Oil-based finishes can cause maple to yellow over time, so we typically recommend water-based polyurethane or lacquer. These finishes retain the natural colour of the wood while providing a durable protective layer.
- Applying a Primer: Before we apply the finish, we add a primer. Priming helps seal the wood, ensuring the finish adheres smoothly and evenly to the surface. It also helps reduce the natural tendency of maple to absorb too much finish, preventing a blotchy appearance. This step is essential for an even, professional finish.
- Application Process: After priming, we apply the finish in thin, even coats to avoid drips or uneven patches. Between each coat, we lightly sand the surface with fine-grit sandpaper to ensure a smooth, professional result. This attention to detail is what gives your floor that stunning, polished look.
- Drying Time: Water-based finishes dry faster than oil-based ones, which means less downtime before you can enjoy your newly restored floor.
If you’re looking at DIYing it… check out this website, “How to Sand Wood Floors“, for all your wood floor sanding needs, including advice! (They can even help with hire shops for machinery in a few areas)
Aftercare: Maintaining Your Maple Wood Floor
Once you have your floor restored, keeping it looking its best requires some simple maintenance.
- Regular Cleaning: Dust & dirt can scratch the surface over time. Regular dusting with a microfiber cloth helps maintain the finish. Don’t use too much water, as excessive moisture can damage wood floors.
- Protect High-Traffic Areas: Placing rugs in high-traffic areas, such as hallways or near doorways, can help prevent premature wear. If your home has lots of sunlight, consider using window coverings to protect your floor from UV exposure, which can cause discolouration over time.
- Avoid Harsh Chemicals: Stick to wood-safe cleaning products. Harsh chemicals can strip the finish and damage the wood underneath.
Why Trust Us for Your Maple Floor Restoration in Newmarket?
At Floor Sanding Newmarket, we know how important your home’s flooring is. Our team has worked with a countless amount of homeowners in Newmarket and the Suffolk area… ensuring they handle every project with care and precision. We treat each maple wood floor as a unique canvas, bringing out the beauty in every grain and fibre.
Whether you’re dealing with scratches, wear, or simply want to refresh the look of your home, we are here to help. With our expertise, attention to detail, and a commitment to using only the best materials, your maple wood floor will not only look stunning but also stand the test of time.
Ready to Restore Your Maple Wood Floor?
If your maple wood floors in Newmarket, Suffolk are in need of restoration, don’t hesitate to get in touch with us. Our team is ready to transform your worn floors into beautiful, durable surfaces that will enhance your home for years to come.
Let’s bring your maple wood floor back to life! Contact us today to schedule a consultation.

